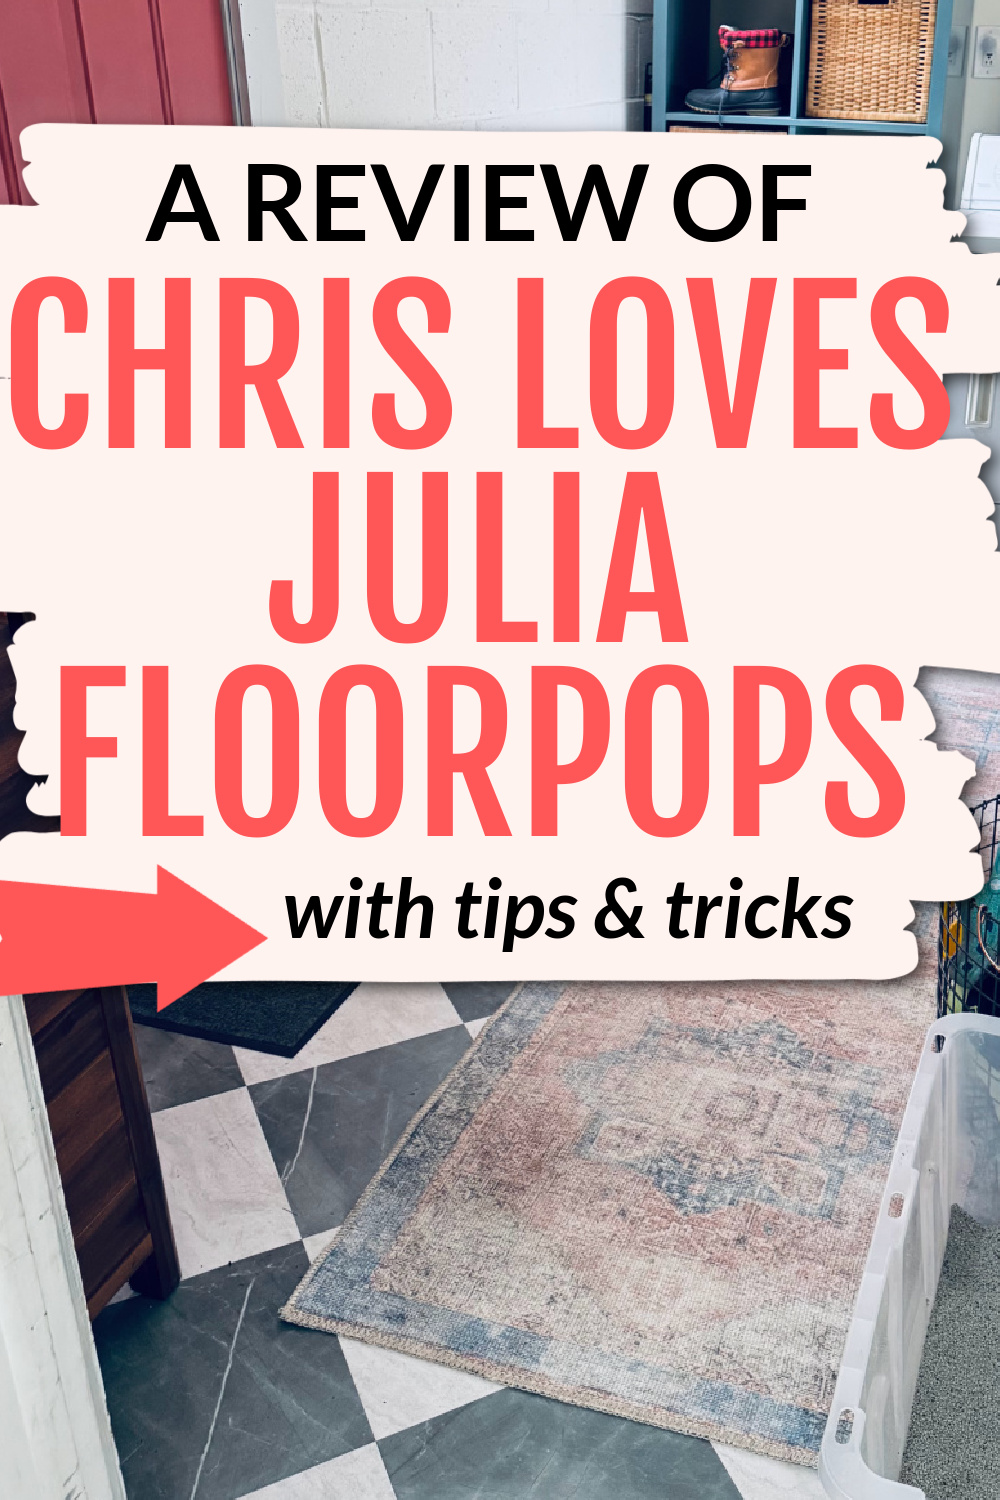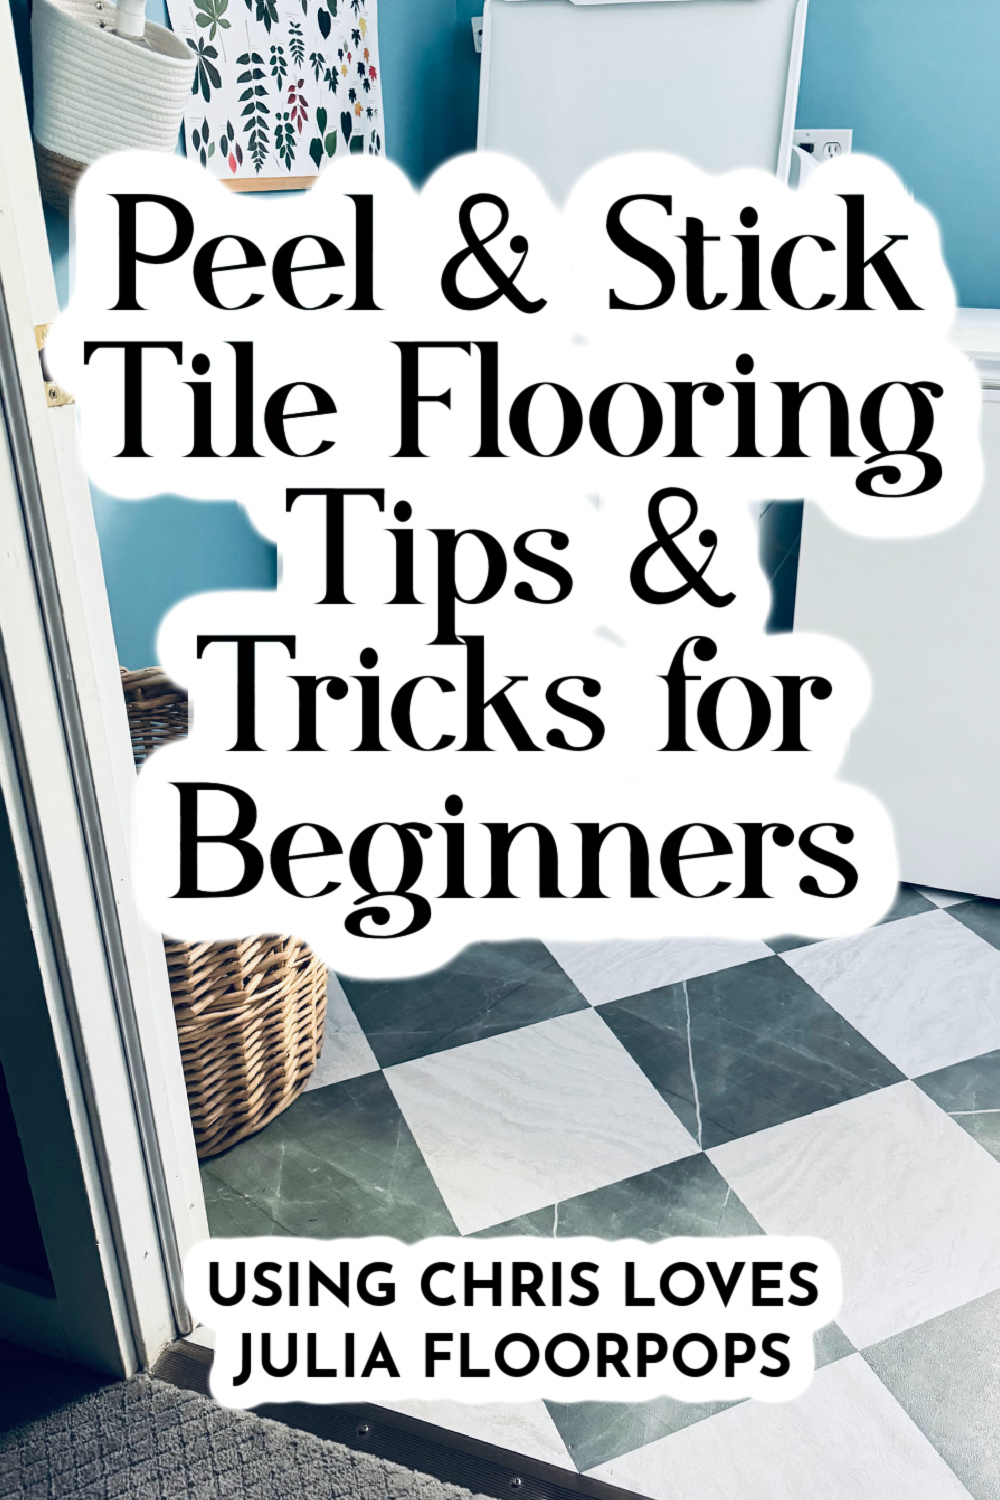
Inside: I’ve installed Chris Loves Julia FloorPops peel and stick tile in two small rooms so far, and I love them so much, I’m considering doing another room! Here are the peel and stick tile flooring tips and tricks for beginners that I wish I’d had.
In early December 2025, we realized that our hot water heater needed to be replaced. YAY. Thank goodness for emergency funds! Nothing like watching a cool $2K leave your bank account, but we do like our hot water, so we forked it over.
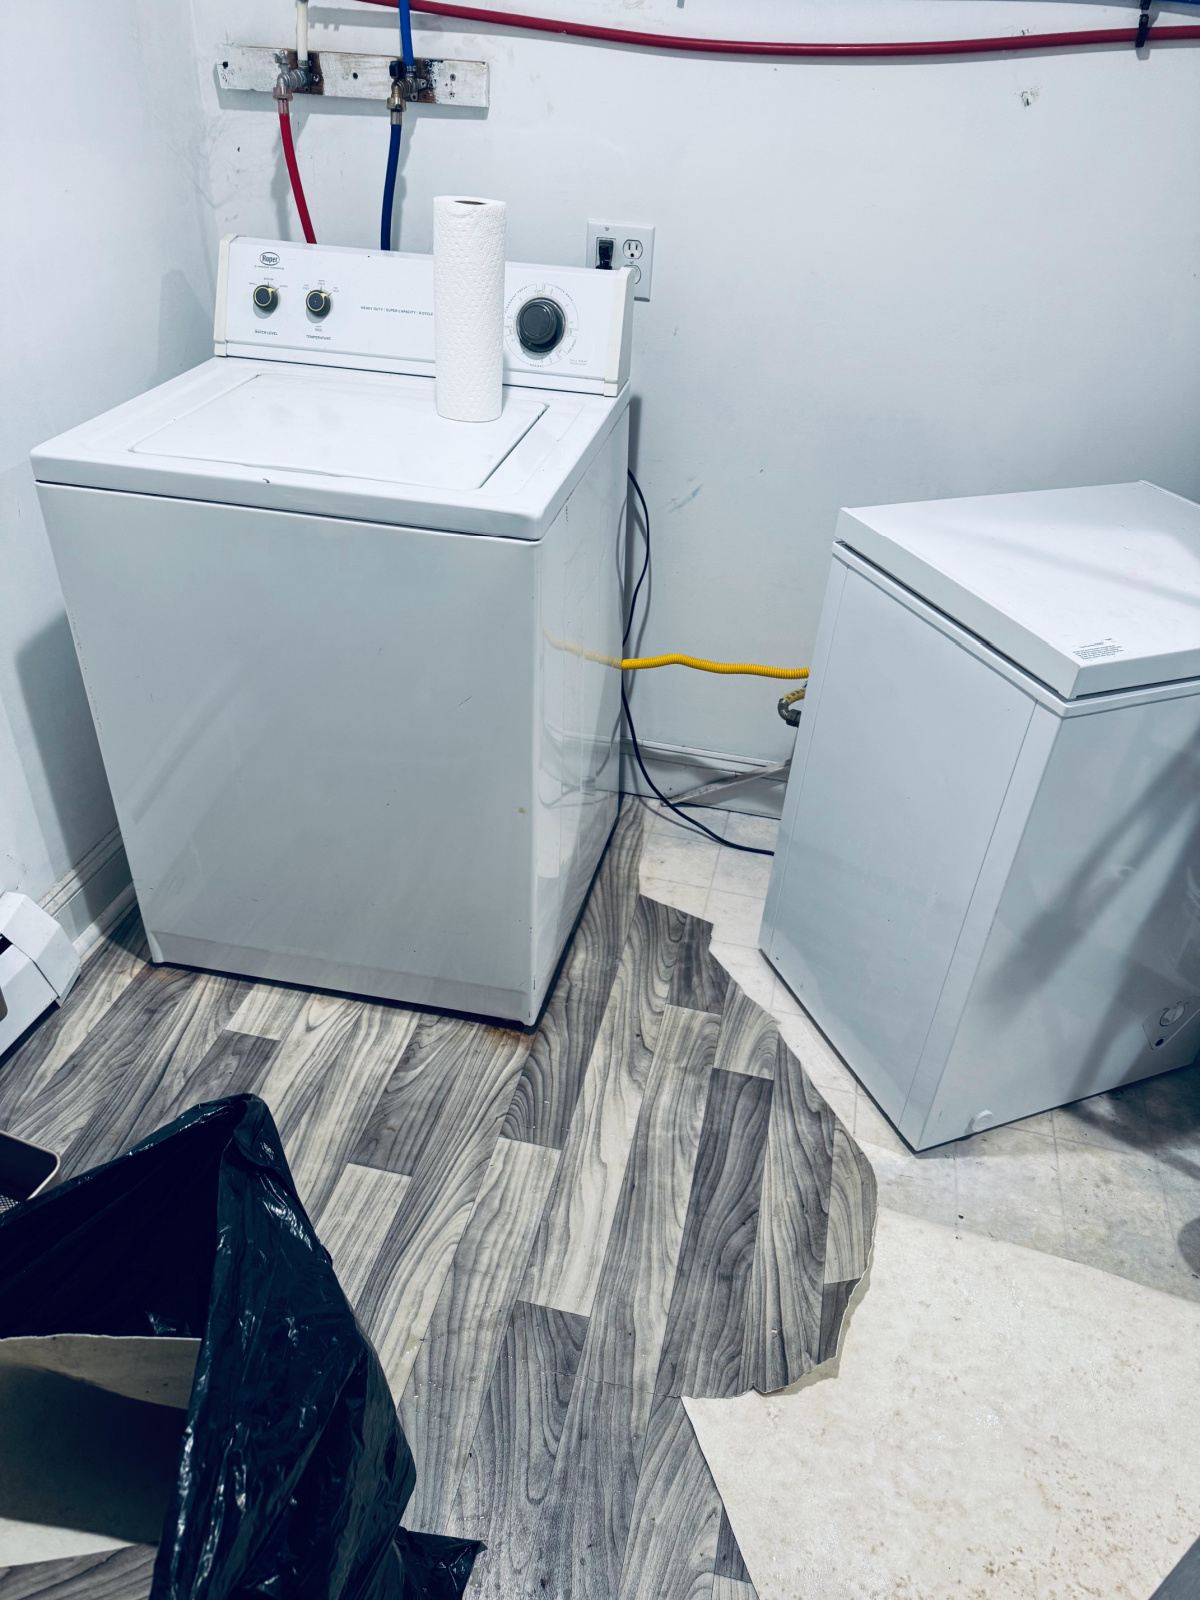
We chose one recommended by our electrician/plumber, had it installed and thought we were all good. Unfortunately, when we had the hot water heater installed, we also had the valve above our washer replaced and…the plumber’s apprentice forgot to put the drain hose back in the pipe.
So later that night, I was watching a movie with the kids and running the washer. You can imagine my horror when I opened the laundry room door to a flood.
We quickly realized it was the drain hose emptying onto the floor, not the new hot water heater (thank goodness), and brought the shop vac in from the garage to start cleaning up.
I’d been wanting to replace the vinyl flooring for a while, and this was the push I needed to rip it all up. So maybe it was a happy accident? Maybe?
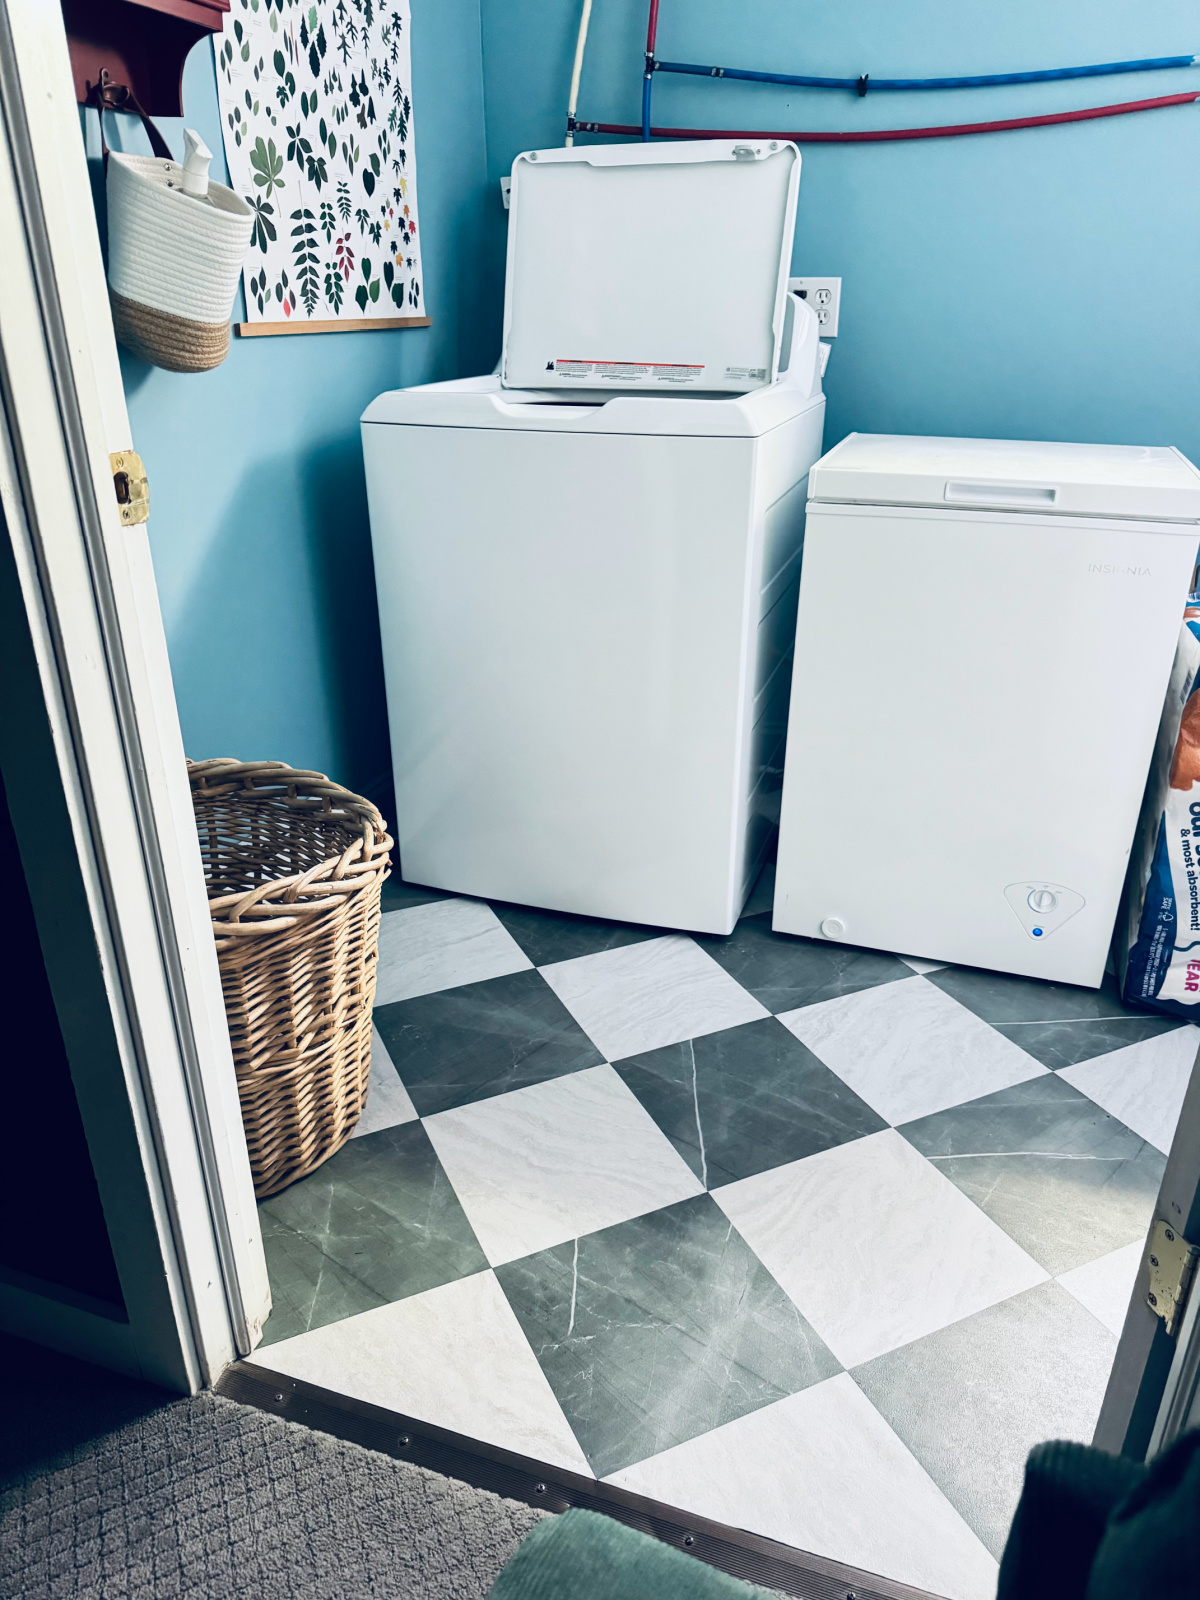
Happy or not so happy, it led me to peel and stick tile, and I’m so glad it did. I hated my laundry room before and now I love it.
(The washer also decided to quit a week after the hot water heater, so I was extra motivated to finish tiling the room before the new machine was delivered just before Christmas.)
Peel and Stick Tile Installation Tips and Tricks
THIS POST PROBABLY CONTAINS AFFILIATE LINKS. AS AN AMAZON ASSOCIATE, I EARN FROM QUALIFYING PURCHASES. YOU CAN READ OUR FULL DISCLOSURE POLICY HERE.
I’d been eyeing Chris Loves Julia FloorPops on Instagram for several weeks and decided to give them a try. I loved them so much that I decided to use them in our mudroom, too!
You can definitely use a different peel and stick tile, but my tips are based on my experience with THESE Chris Loves Julia FloorPops tiles.
I originally bought the black and white version, but hated it. Like haaaated it. I returned them and went with THIS color, instead, and I love them so much.
If you follow them on Amazon for a bit, checking in daily, you’ll realize that they fluctuate pretty widely in price and go on sale in cycles. Make sure to look at the price history. You can save a ton by waiting for the right moment to purchase them!
For instance, at the time of this writing, THIS color is 30% cheaper than the green ones. But the prices change all the time.
As with everything, the price is going up, but for each small room, it took around 65 tiles total and cost me around $130 per room.
You Might Also Like: DIY Sparrow Wallpaper with FREE Bird Template
What You’ll Need to Install Peel and Stick Tile
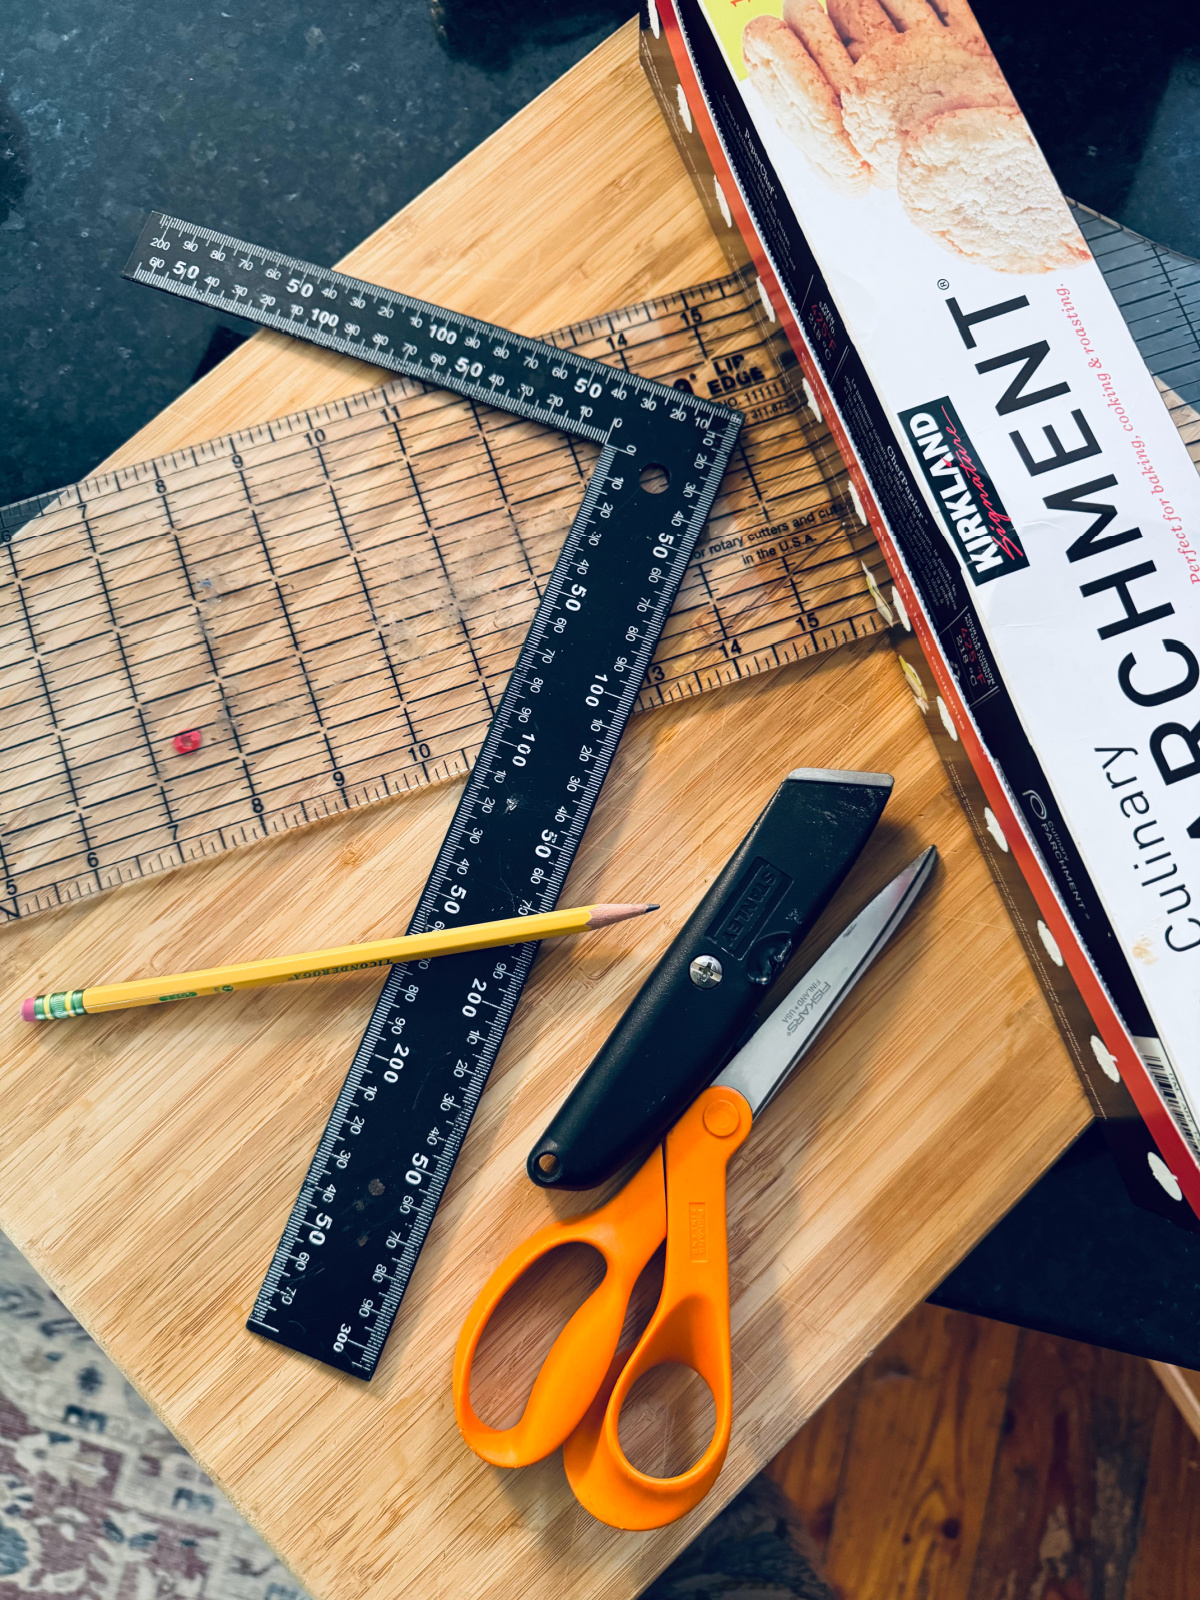
You will need the following for installing peel and stick tiles:
- Exacto or Box Knife
- Sharp Pair of Scissors
- Wrapping or Parchment Paper
- A Straight Edge
- Ruler (a Square is helpful!)
- Pencil to Mark Tiles
- Vacuum and Cleaning Supplies
- Latex Primer (if installing over plywood subfloor)
Here are my best tips for installing these tiles in two rooms so far. I’m strongly considering a third! I guess I can’t get enough.
1. Choose orientation of tiles (I prefer diagonal).
This is a personal preference, but personally I think diagonal placement looks amazing and hides any flaws in your work. It’s also best for installing over real tile, which was not what I was working with, but you might be.
If you decide to do go with the side by side tiles parallel to the wall, you may want to ignore #3 and start from the middle of the room, instead, for the best overall look.
You can see a great example of parallel to wall placement HERE.
2. Lay out most of your arrangement before you start.
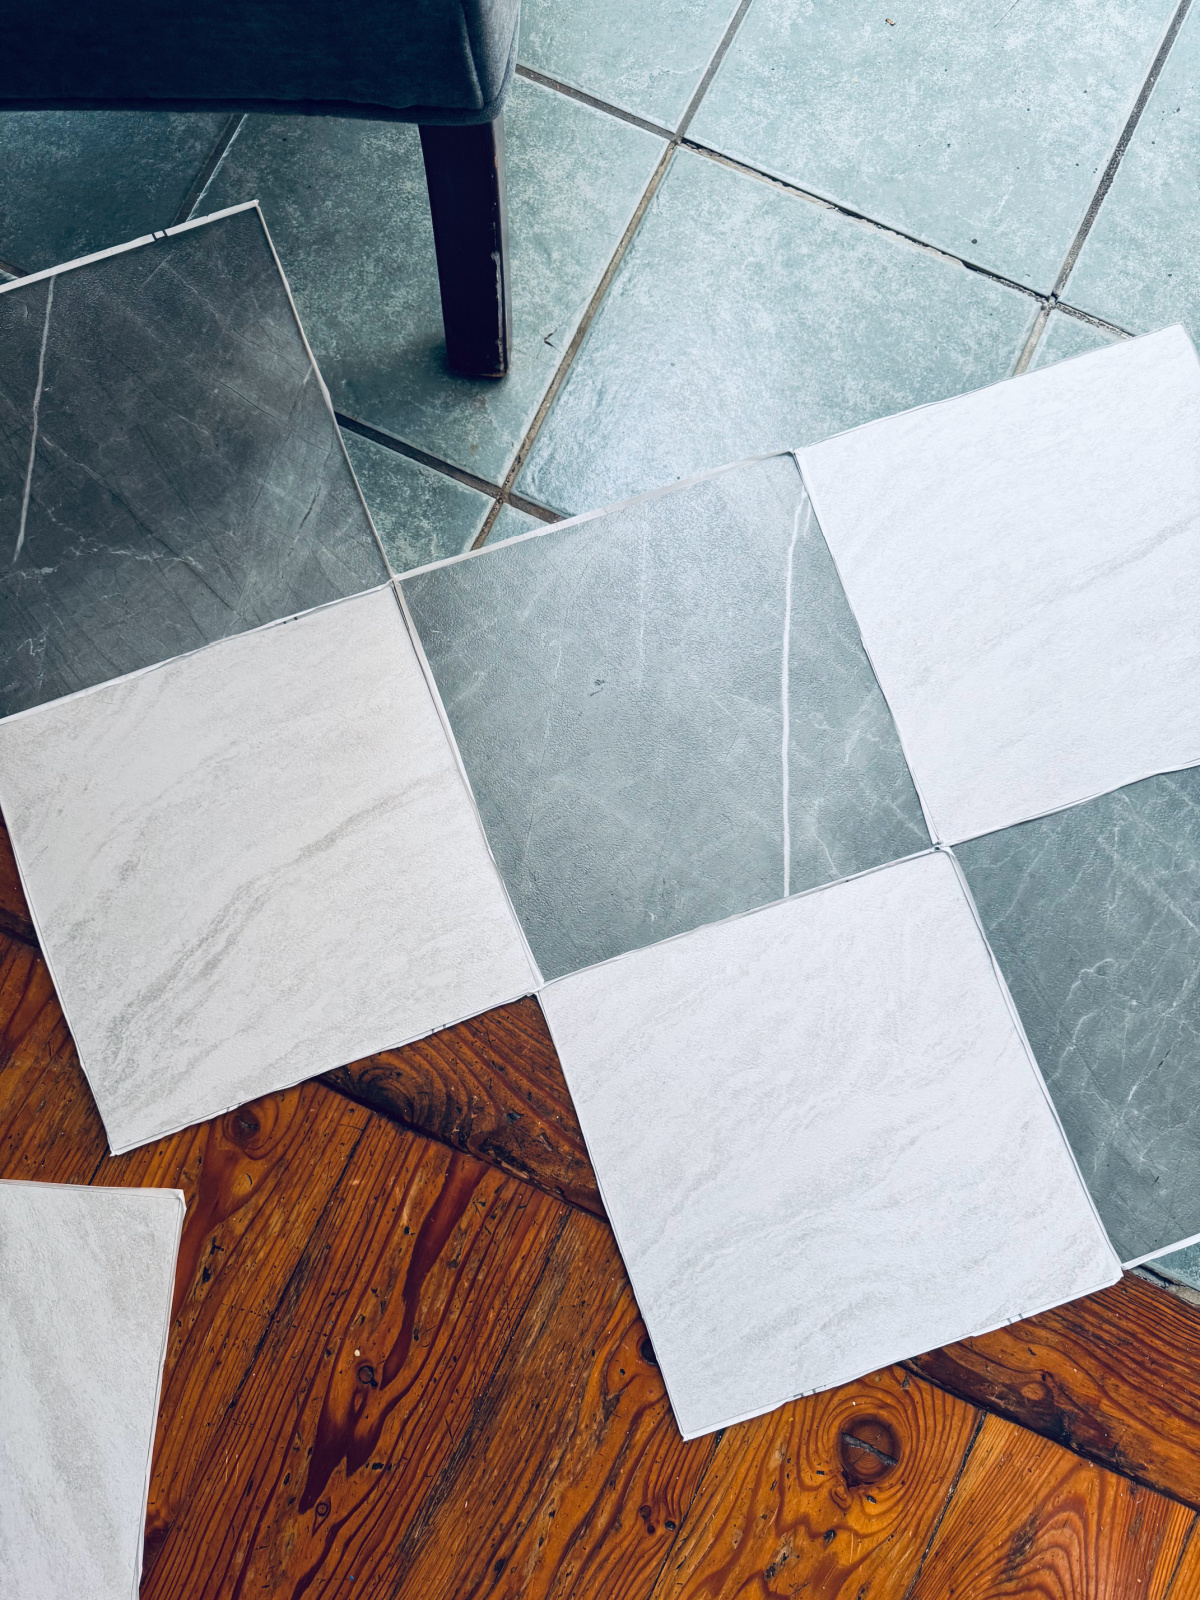
To get an idea of how you want to lay your tiles, lay out at least 50% of your tiles and rearrange if necessary.
You want to try to minimize the number of cuts you’ll need to do, especially complicated cuts.
3. Prep your floors.
Having a clean base flooring is essential for tiles to stick properly and stay put long-term! Don’t skip this step.
If you are working with plain plywood, you’ll want to start by applying a Latex primer of some kind. If it’s a painted subfloor, just make sure it’s very clean. They do NOT recommend placing them over plain concrete.
I was working with old vinyl flooring over the concrete basement floor in both rooms, so all they needed was a good cleaning before getting started.
(The concrete basement floor did give me problems in the entryway because of little ridges here and there. I plan to apply extra adhesive under a couple tiles that are refusing to stay put.)
4. Start at the primary door opening (not the center of the room).
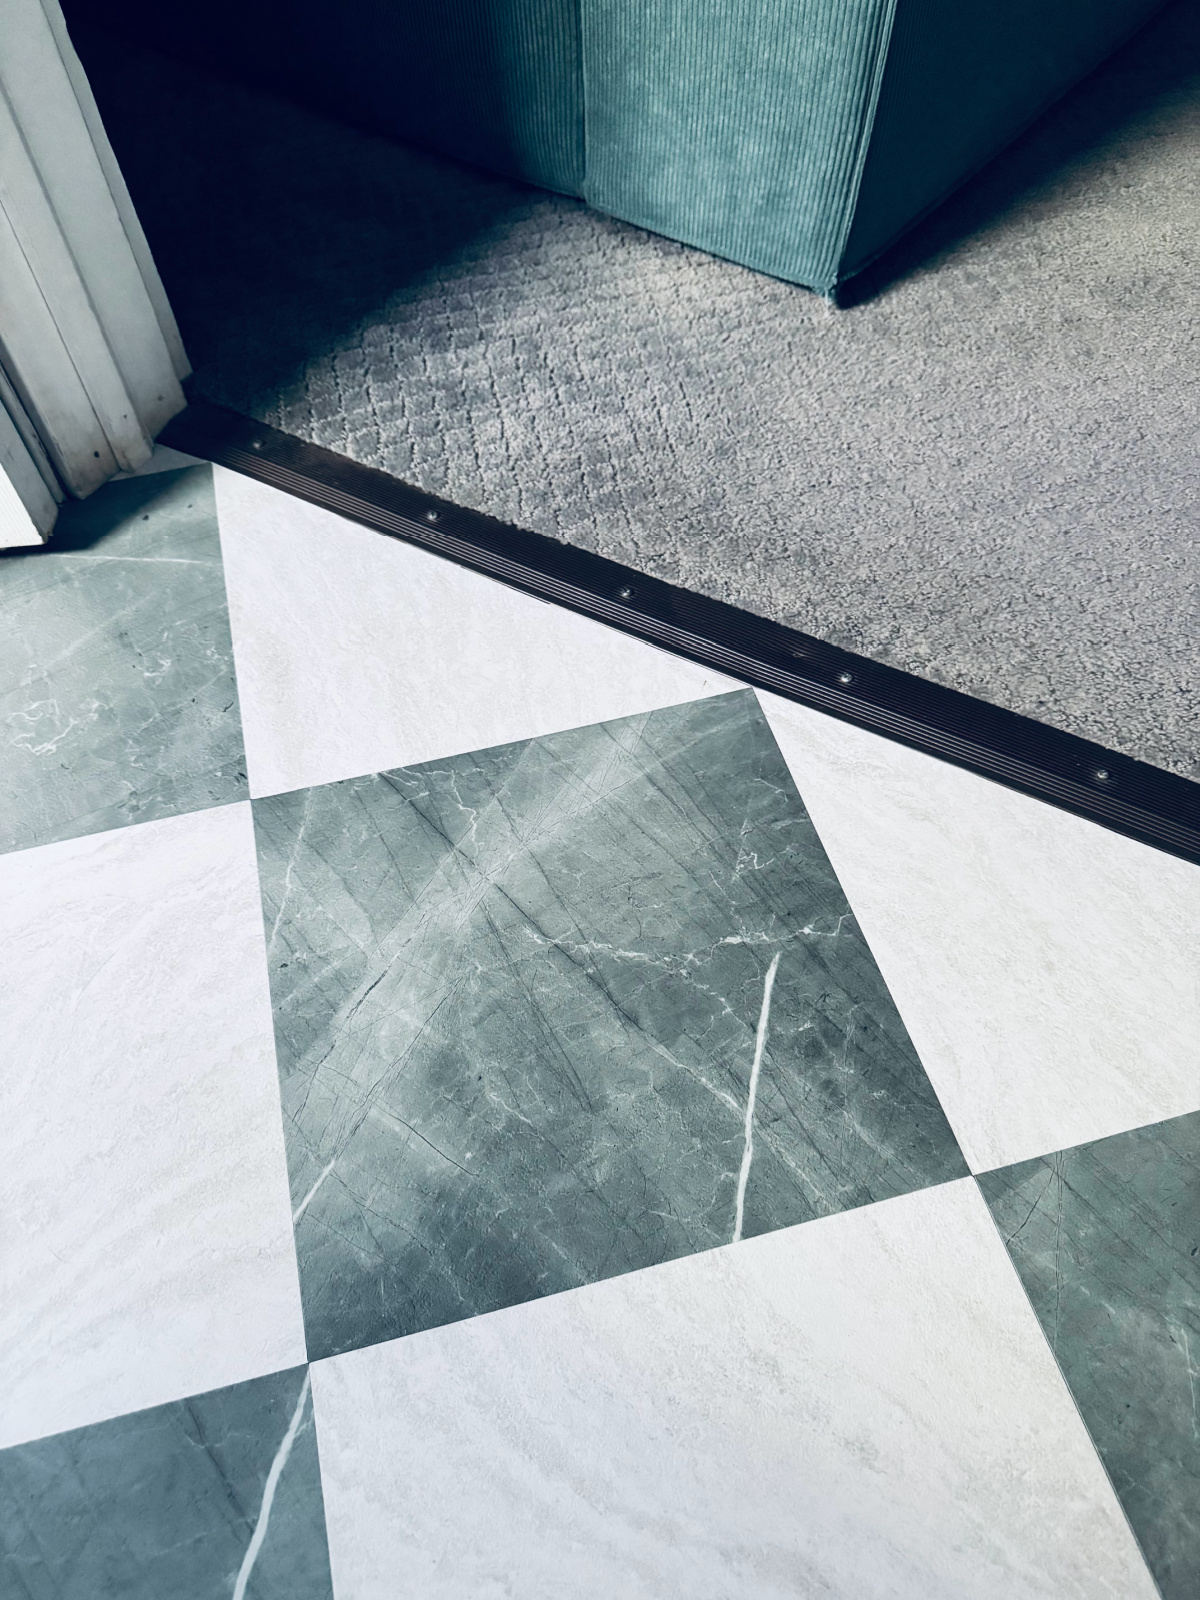
The Chris Loves Julia blog tells you to start from the middle of the room, and again, if you’re doing a pattern with tiles parallel to the wall, that might be a good idea.
But if you’re doing a diagonal placement, I think it’s so much easier and looks better to start from the primary door and work your way out from there.
This is where a square can really help to make sure that you are laying the first tile in the center of the doorway at the correct angle.
If a room has multiple entryways, I would consider starting from the center of the room, instead.
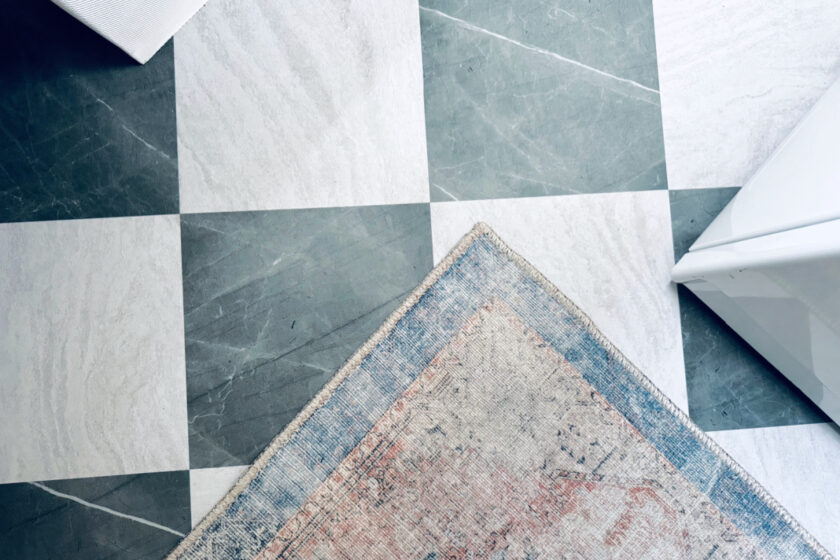
5. Use the arrows on the back to stick to the same direction for each tile.
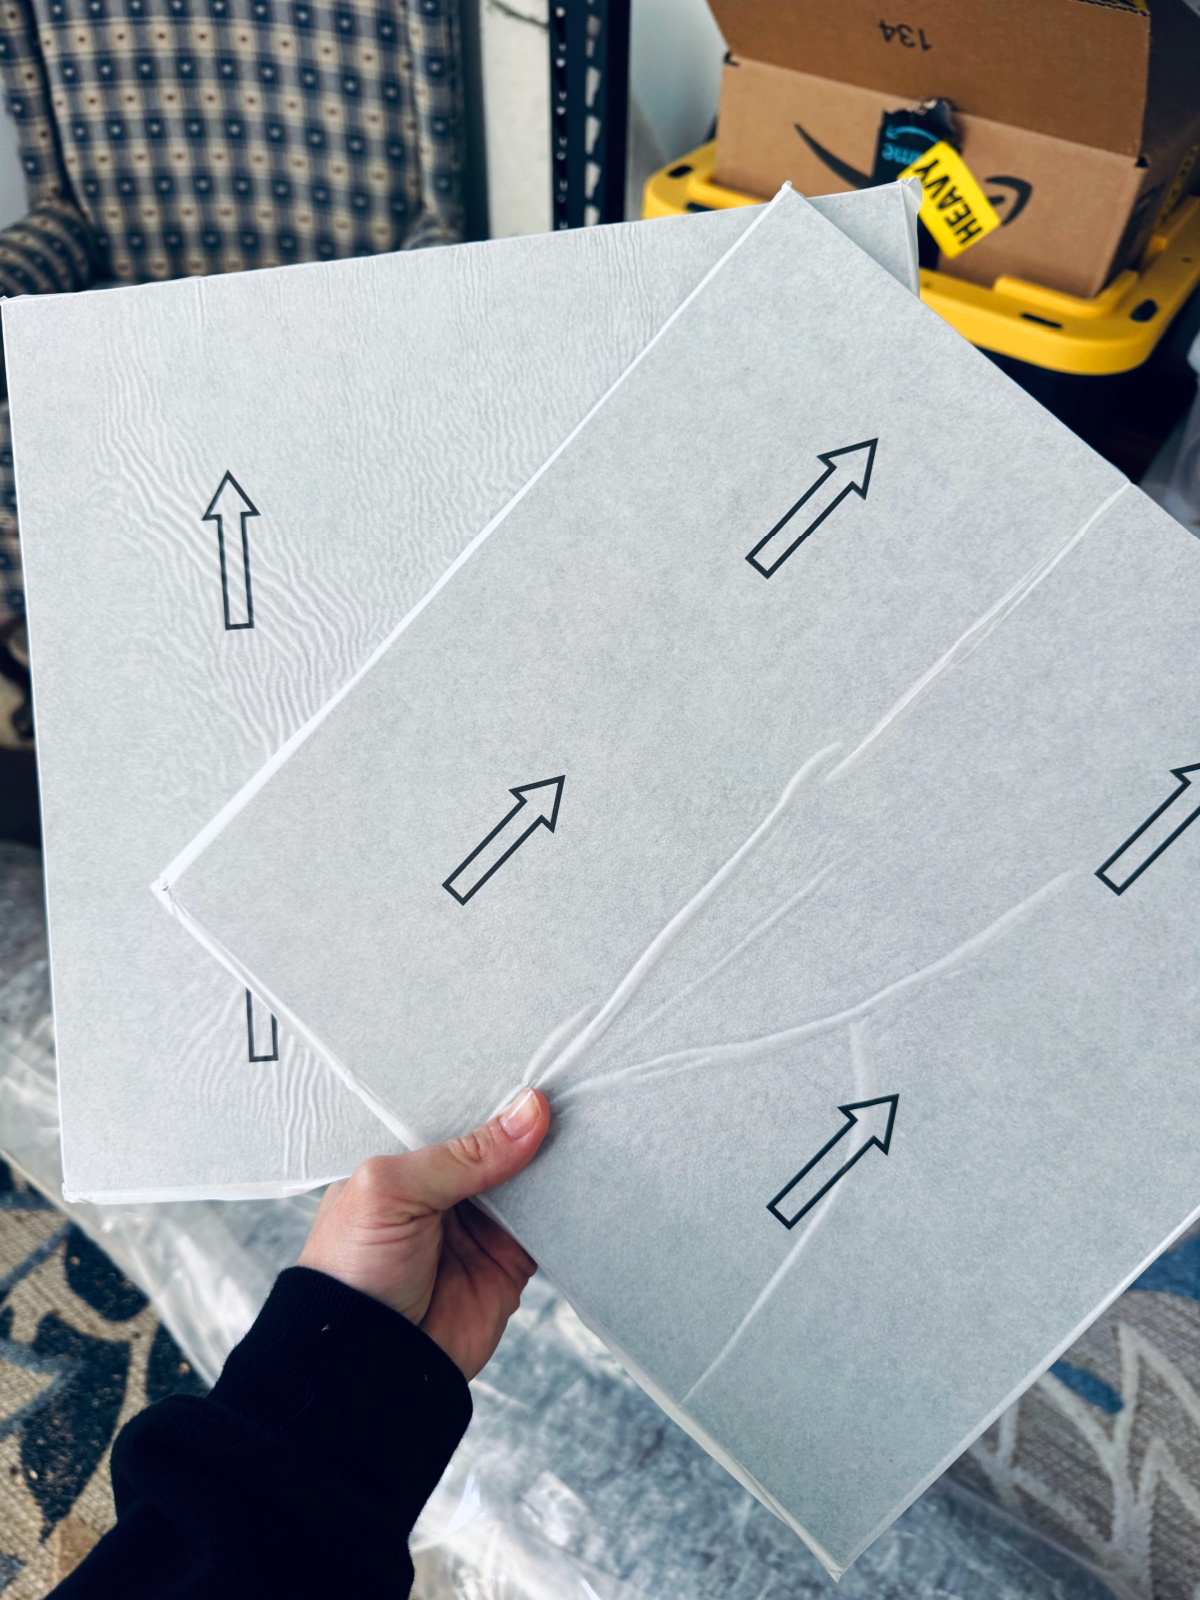
I wasn’t so great at this with my first room, but I did follow it religiously with my second.
It’s not critical if you accidentally mess one up, but it will help the room look more cohesive if your tiles have a marbling pattern to them like mine do.
The arrows are likely unique to Chris Loves Julia FloorPops, but other peel and stick tiles may have similar directional arrows.
6. Use a dust buster (or vacuum) on the floor prior to placing each tile.
Keep a dust buster or vacuum handy to thoroughly clean the 12×12 square of floor before each tile placement.
Especially if you have pets, little stray hairs and dust can collect over the course of the project after the initial cleaning and prep.
7. Use a box knife with a straight edge on a cutting board for simple cuts, and sharp scissors for more complex edge cuts.
A box knife (or exacto knife) and a straight edge works great for simple cuts. Draw your guide line with pencil and follow it. After scoring, you should be able to simply snap the tile in two.
However, when you’re working with a corner or door piece that involves multiple guide lines on a tile, sharp scissors work better.
Trust me: I tried the box knife, and it was extremely difficult to control cuts along multiple lines. Switch to scissors for complicated cuts! Doorway trim was especially tricky to work around.
8. Use wrapping paper to create templates for edge squares.
I just learned this hack (after doing two rooms, of course), and it’s genius! Wrapping paper folds easily and is perfect for creating a template for complicated cuts.
First, cut out a tile sized piece of wrapping paper. Then, place it up against the wall and fold until you have the template you need.
No wrapping paper? Parchment paper works just as well.
Personally, I found a square helpful in gauging angles for different cuts, but it’s not essential to the process.
Keep in mind when doing edge pieces that you may need to leave an inch more tile in order to slide it under the baseboard! We were able to slide most pieces under, but not all.
9. Press tiles snugly up against each other: there should be NO gaps.
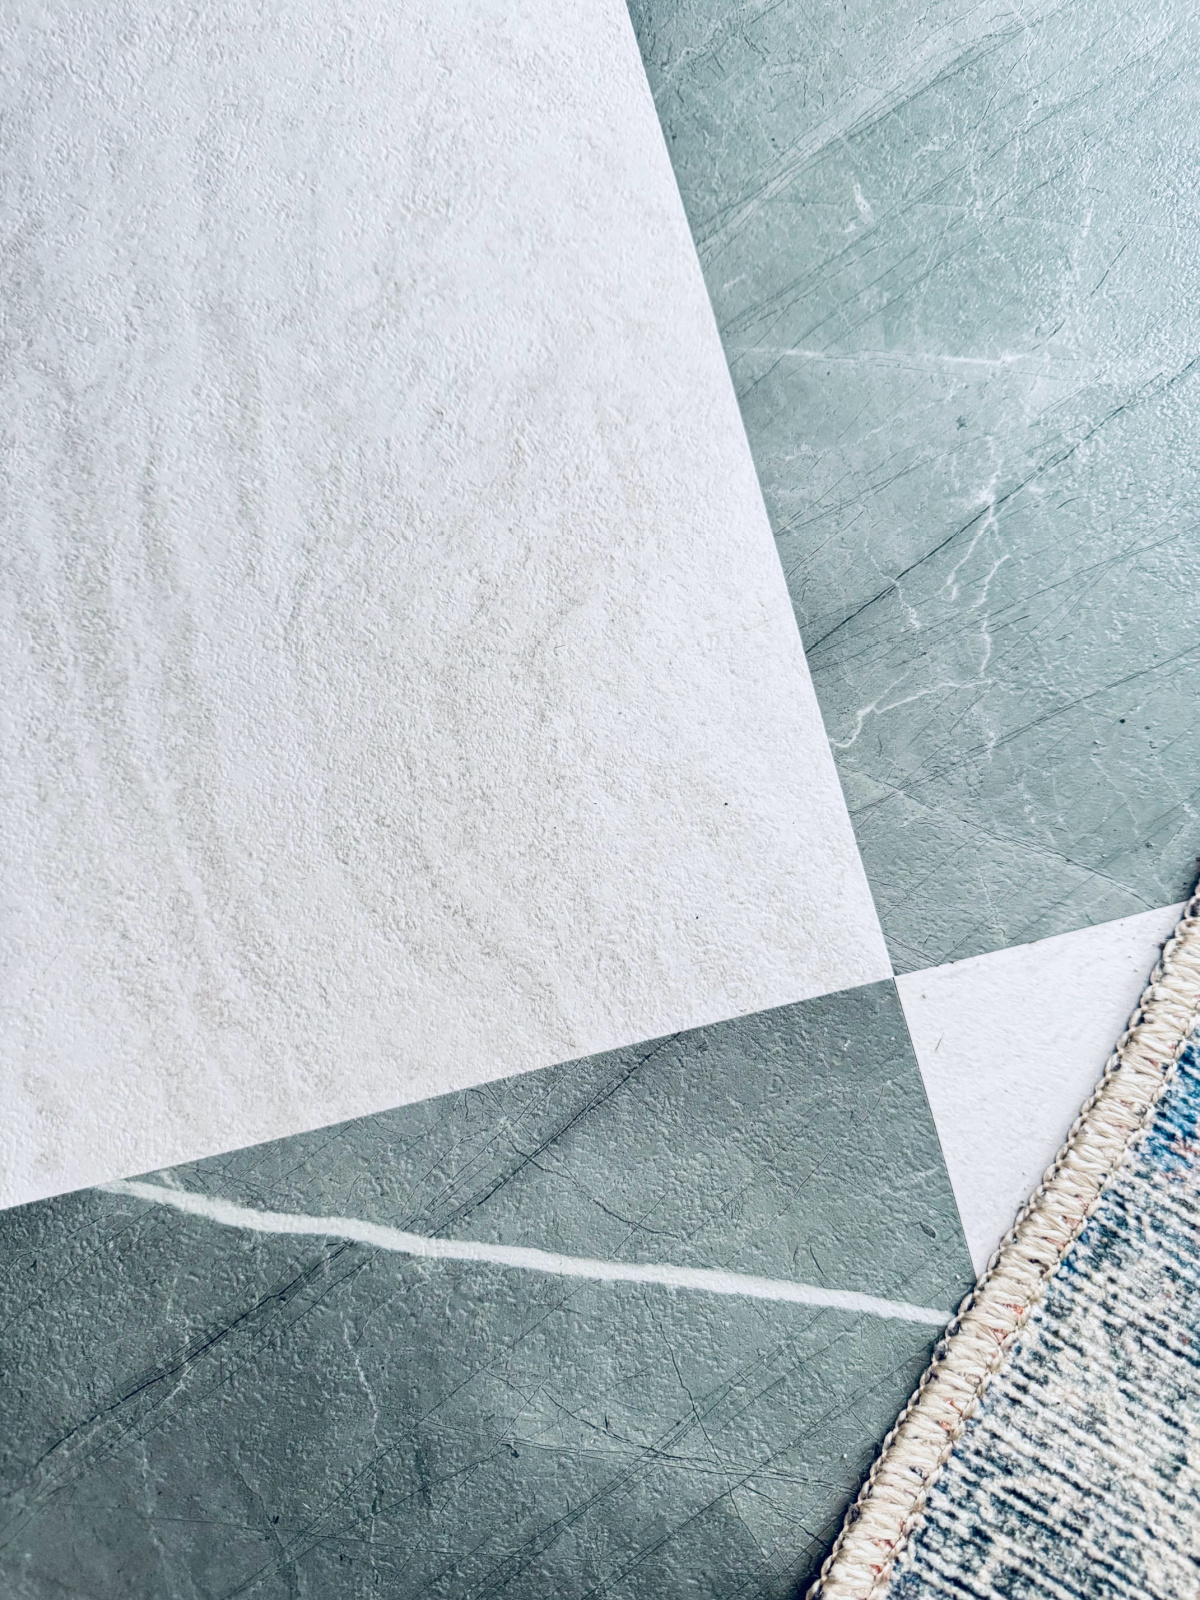
This is SUPER important. You want to work in a way that allows you to press each tile snugly up against the others.
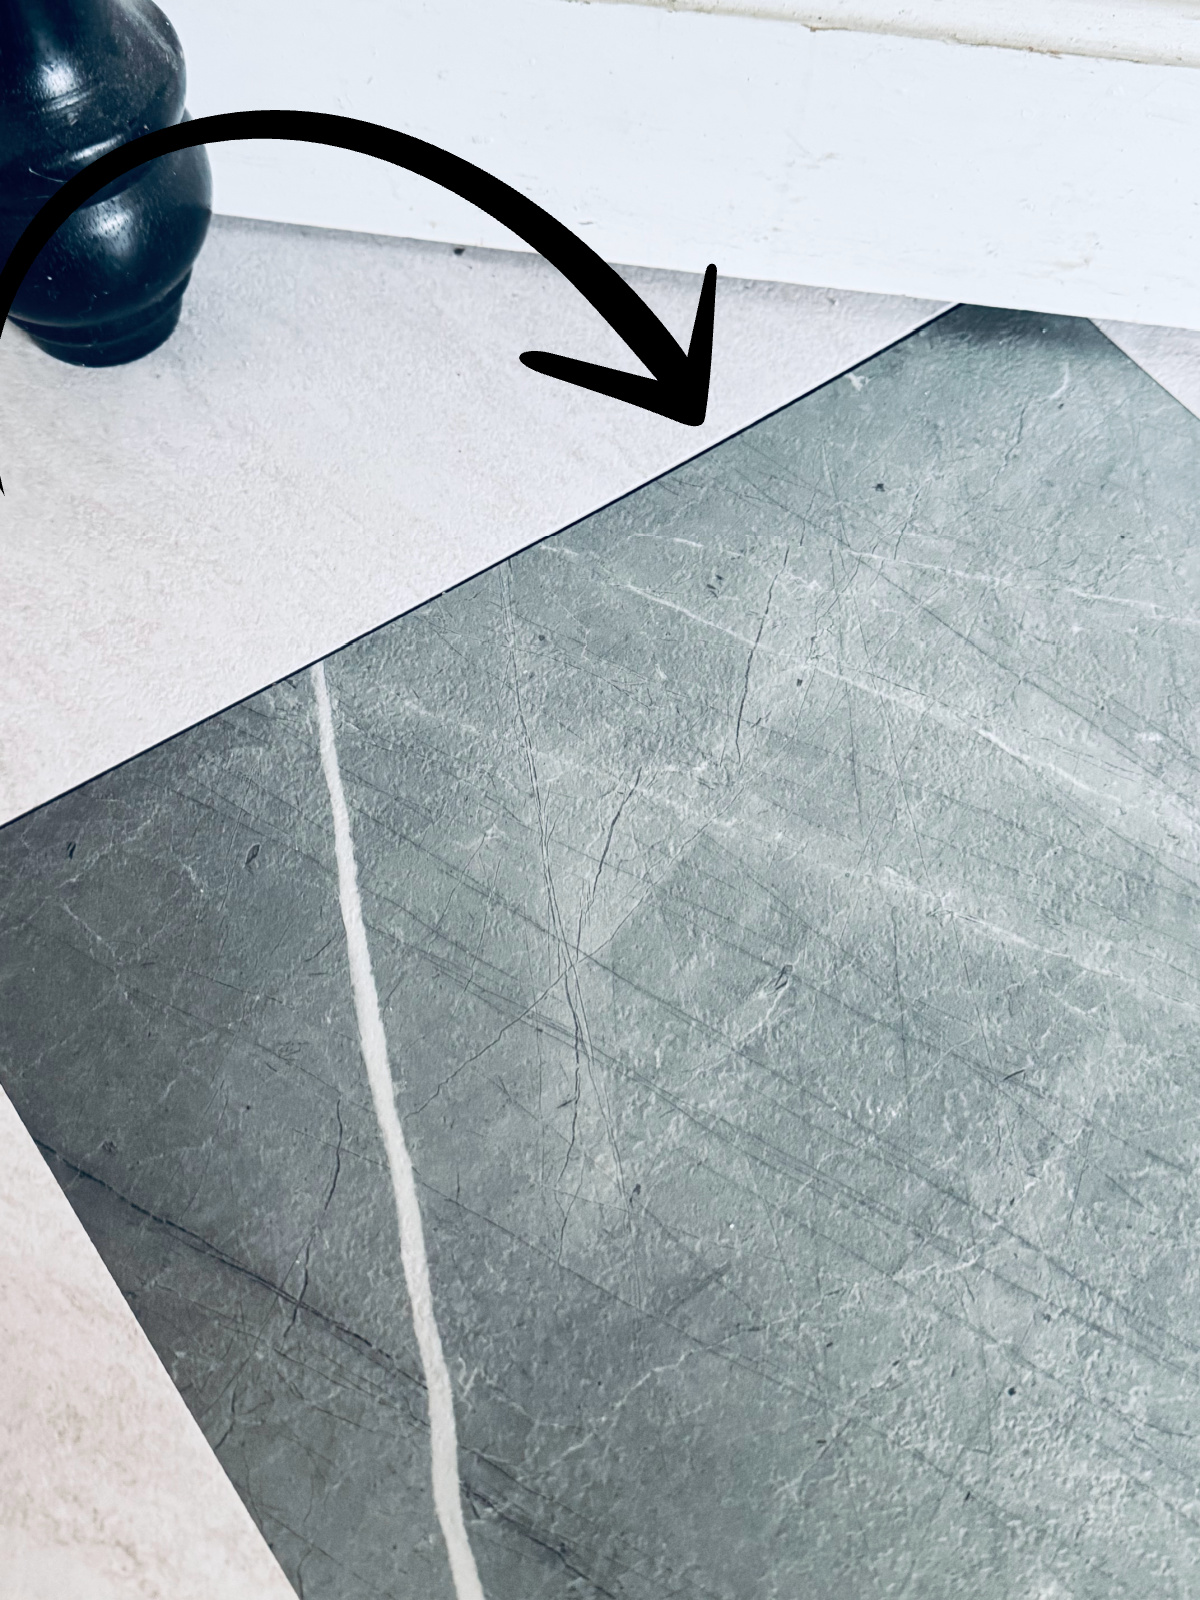
Ideally, you should see ZERO gaps between tiles. So when placing tiles, work in small sections where you are able to line everything up exactly to be able to achieve zero gaps.
The photo below is an example of a “mistake tile” with gaps that I might go back and replace later, but for now, it’s under a bench and not visible.
10. Place a weight on each tile as you go to ensure it sticks.
After placing each tile, make sure to press firmly on the tile all over – especially the edges – to ensure the best possible bond with the floor. Then, I placed a light handweight (5 pounds) on each tile right after I placed it.
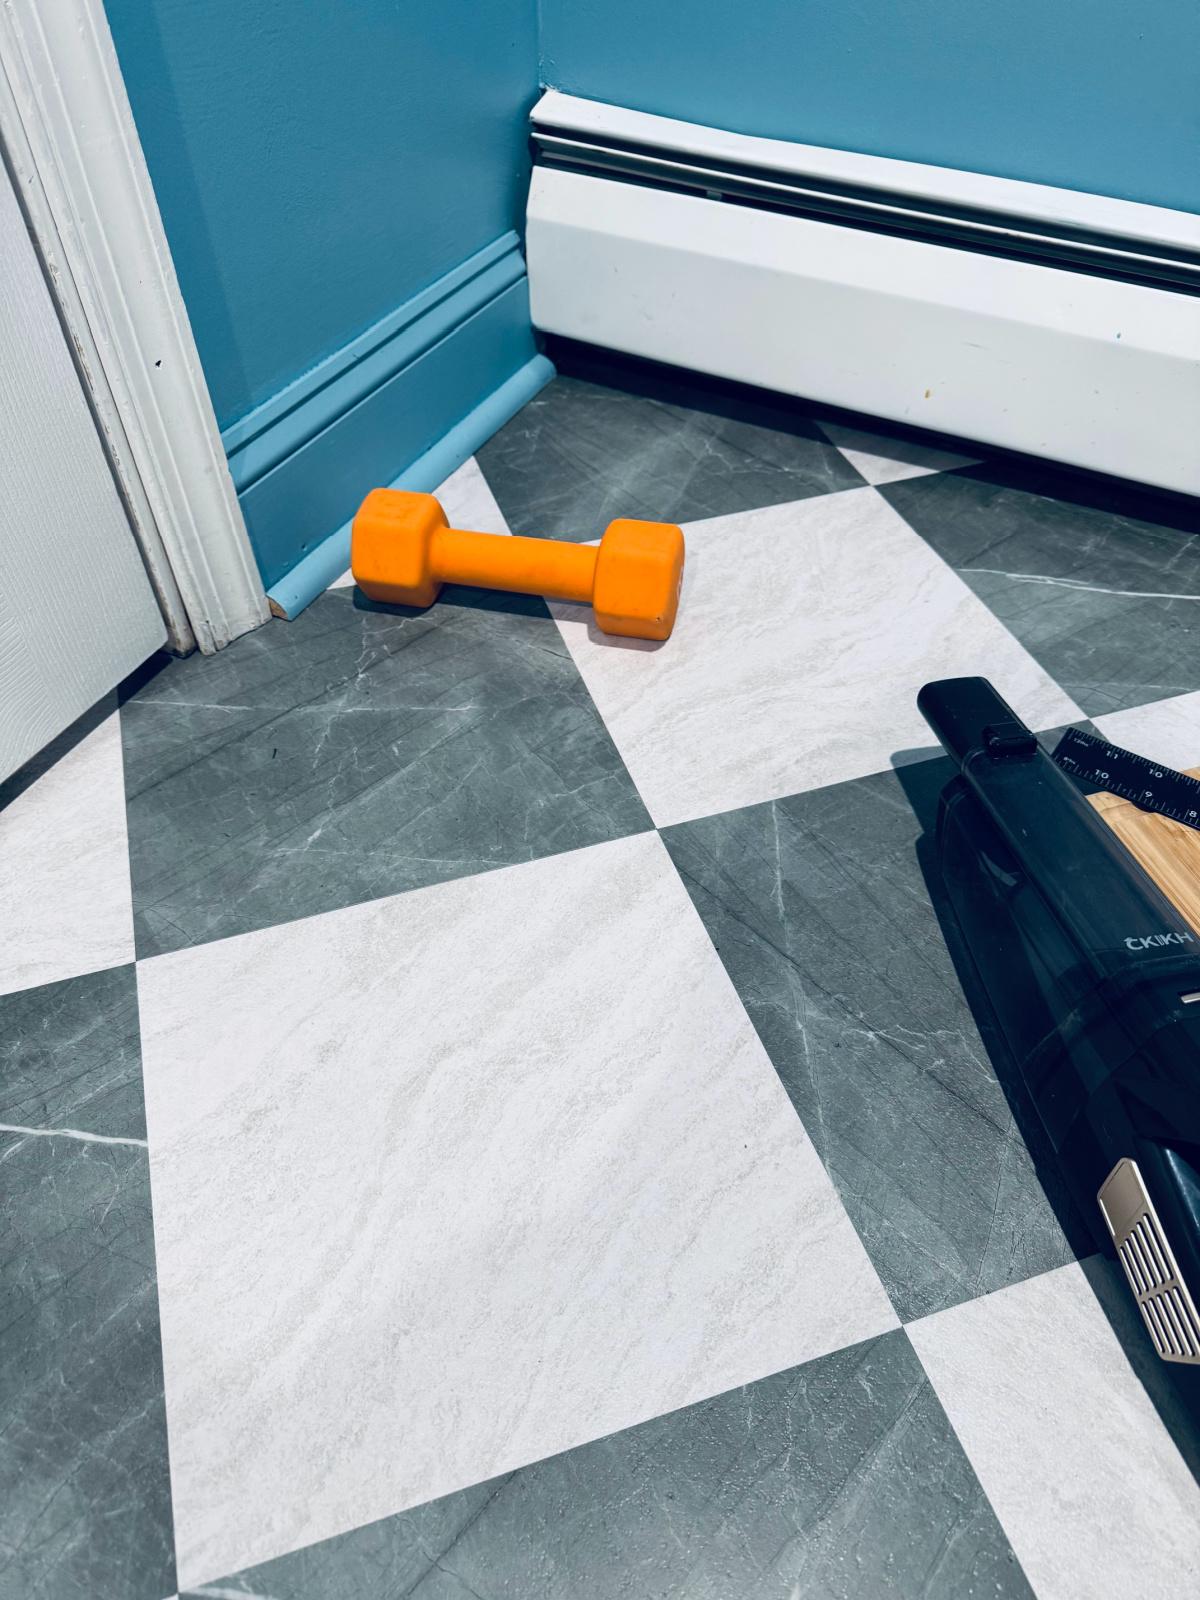
This is especially helpful if you are working with underlying flooring that has any bumps or unevenness, like I was with the concrete basement floor underneath the vinyl laminate flooring.
How Do Chris Loves Julia FloorPops Hold Up Over Time?
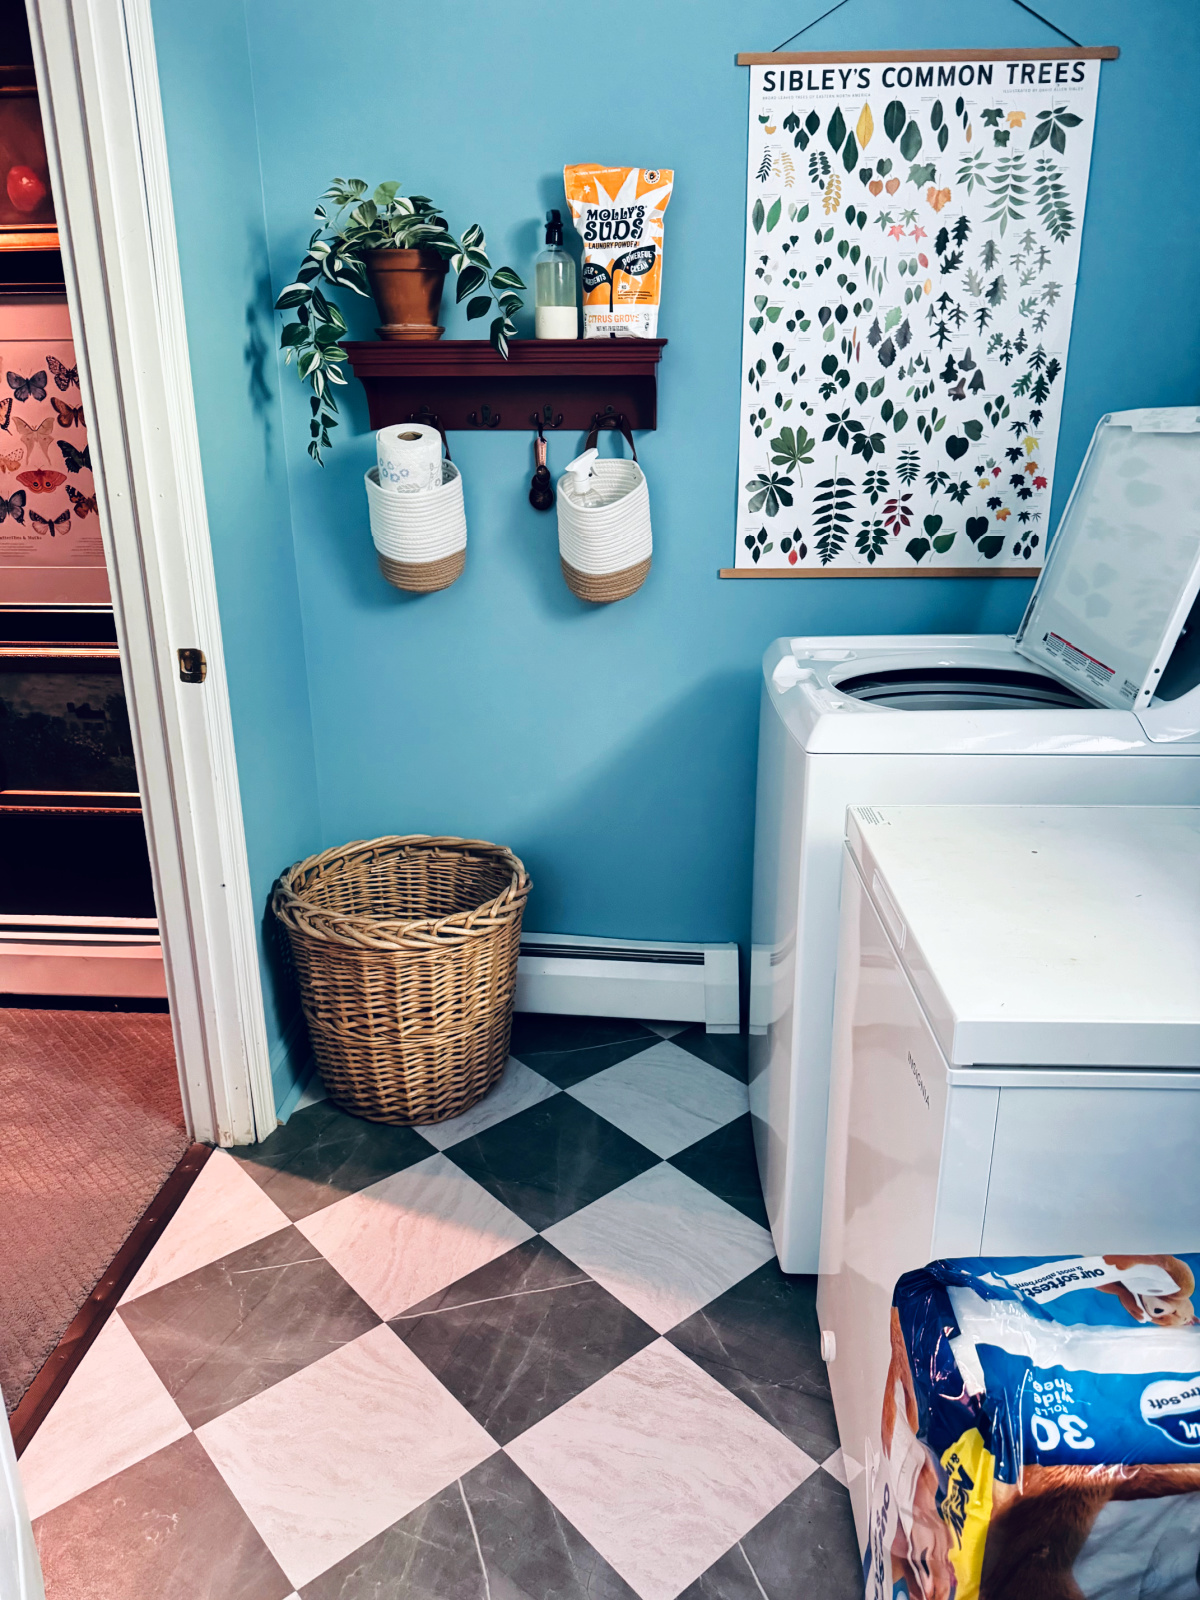
I installed these in two rooms so far, and they’ve been in each room for about 4-5 months. These rooms have constant foot traffic.
They held up SO well during a minor washer leak in the laundry room (we needed new hoses). And they held up well in the mudroom to the family tracking in rain/snow throughout the winter and spring.
I do have a very low pile doormat right in front of the door and a longer washable runner in the mudroom. The runner needs both a sticky mat and rug tape to stay put properly on the tile, which is fairly slippery.
The only issue I’m having is a few tiles in the mudroom that refuse to stay down fully in spots where there were bumps in the subfloor from the concrete.
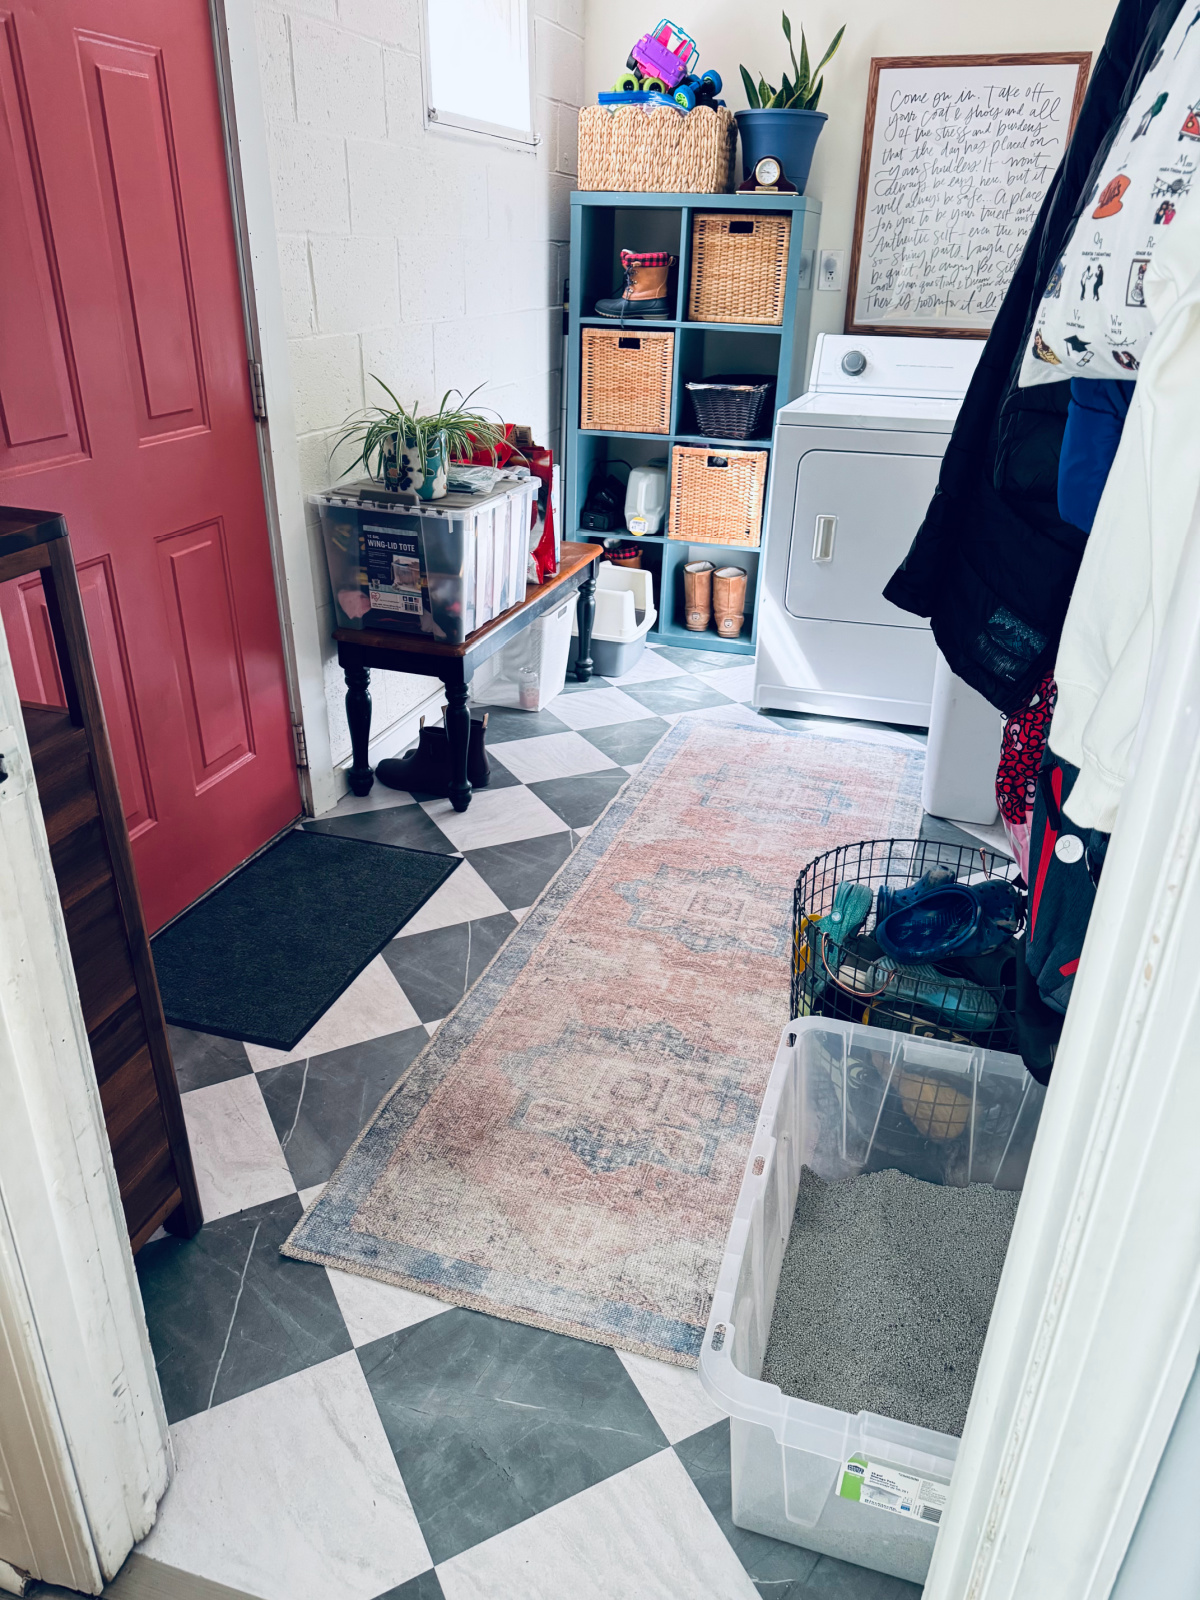
When we eventually replace our electric dryer with a gas one that can sit beside the washer (I am SO looking forward to that!), I will apply additional adhesive to the couple tiles in the mudroom that struggle to stay down and secure them in place.
Other than that, I love them! I will report back in a year or two if they stop being awesome.
P.S. If I was forced to choose another color, I’d probably go with THESE red and white marble ones.
Ask any additional questions about Chris Loves Julia FloorPops or peel and stick tile installation in the comments!