Inside: I finally created a minimalist pantry, and I regret not doing it sooner! It’s revolutionized my relationship with grocery shopping, cooking and meal planning. Here’s how you can declutter and organize your own pantry in five easy steps.
I drove the twenty-five minutes home from the grocery store, oh so confident I hadn’t forgotten anything this time.
Not forgetting things – especially produce – is pretty crucial when your grocery store of choice is a twenty-five minute drive one way.
I got home and unloaded the groceries. As I put things away one by one, I was still pretty confident.
…until I realized we were out of ketchup. Why didn’t anyone tell me?! Strike “French fries” from the menu. And later in the week, I realized we were running very low on olive oil, another staple.
Then I went to cook the super easy orzo dish to use up my rotisserie chicken…but I couldn’t find the orzo. I figured out later that week that we did, in fact, have it, but it was pushed to the back of the pasta cabinet.
The writing was on the wall (or on the back of the pasta cabinet, in this case). It was time to declutter and organize my pantry.
- No more running out of things
- No more losing items to deep cabinets
- No more buying duplicates
Because feeding your family is hard enough without your disorganized pantry sabotaging you week after week.
Minimalist Pantry Benefits (The 5-Second Version)
This post probably contains affiliate links, which means I may earn a commission if you make a purchase through those links. As an Amazon Associate, I earn from qualifying purchases. You can find our full disclosure HERE.
When I finally applied minimalism to my pantry, I kicked myself for not doing it sooner.
Because this decluttered, organized pantry? It’s made grocery shopping and feeding my family so.much.easier. My mental load is lighter (and don’t all moms want that?).
Now I can quickly glance in my cabinets and know exactly what I have and what I’m out of. I no longer lose things or buy duplicates.
I know exactly when I need to order replacements for staples like peanut butter or olive oil.
And best of all, I rarely forget things at the grocery store anymore, which saves money on gas and eating out. Plus I have lots of room to stock up on our staples when they’re on sale.
And just so we’re clear, no, I didn’t decant all my stuff into uniform, clear plastic Home Edit containers. You absolutely DO NOT need to do that.
So, do you want to save money and time? Lighten the mental load a bit (or a lot)? Then it’s time for a minimalist pantry makeover!
5 Easy Steps to an Organized Minimalist Pantry
Here’s your ultimate guide to creating a minimalist pantry in one afternoon. Once you see the difference, you’ll never want to go back.
I’ve provided lots of minimalist pantry ideas from my own kitchen that will hopefully help you brainstorm the best way to implement these steps in your own unique space.
You Might Also Like: The Smart Way to Organize Your Home (When Your Family is SUPER Disorganized)
1. Pull everything out of the pantry. Wipe down shelves and any containers.
With the pantry, you really can’t effectively declutter without pulling everything out. It might be painful, but it’ll be worth it!
When everything is out, wipe down all the shelves and clean any organizing containers.
Related: A Flexible Minimalist Cleaning Routine (Essential Tasks Only)
2. Group like items and declutter what you know you won’t use (be honest).
Put together like items. Things like….
- Canned Goods (I include cartons of broth here)
- Baking Supplies
- Snacks
- Breads & Bagels
- Condiments & Spreads
Set aside anything you know you probably won’t use in the next few months. BE RUTHLESS.
Things like…the pasta sides you’ve stopped eating because you’ve changed your diet.
Or the granola bars your kids refuse to eat anymore (even though they ate them daily for MONTHS on end – grrrr).
Or the peanut butter brand you stopped eating because you read A Year of No Sugar, so you switched brands.
If the item is opened – or recalled – throw it away. If it’s unopened, and the expiration date is a good ways away, put it in a donation box and bring it to your local food pantry.
I’ll say it again: BE RUTHLESS.
If there are items you think you might be able to use up, put these in a separate box (not back in the pantry) and write the date on it. Then write a meal plan for next week that includes those ingredients.
If they’re not gone in a month or you can’t figure out a way to use them, pull the plug. A pantry full of things you won’t use doesn’t serve you.
3. Evaluate your kitchen set-up and your pantry shelves to determine where categories should “live”.
I don’t know what pantry space you’re working with, so this is where you need to decide for yourself where things should go.
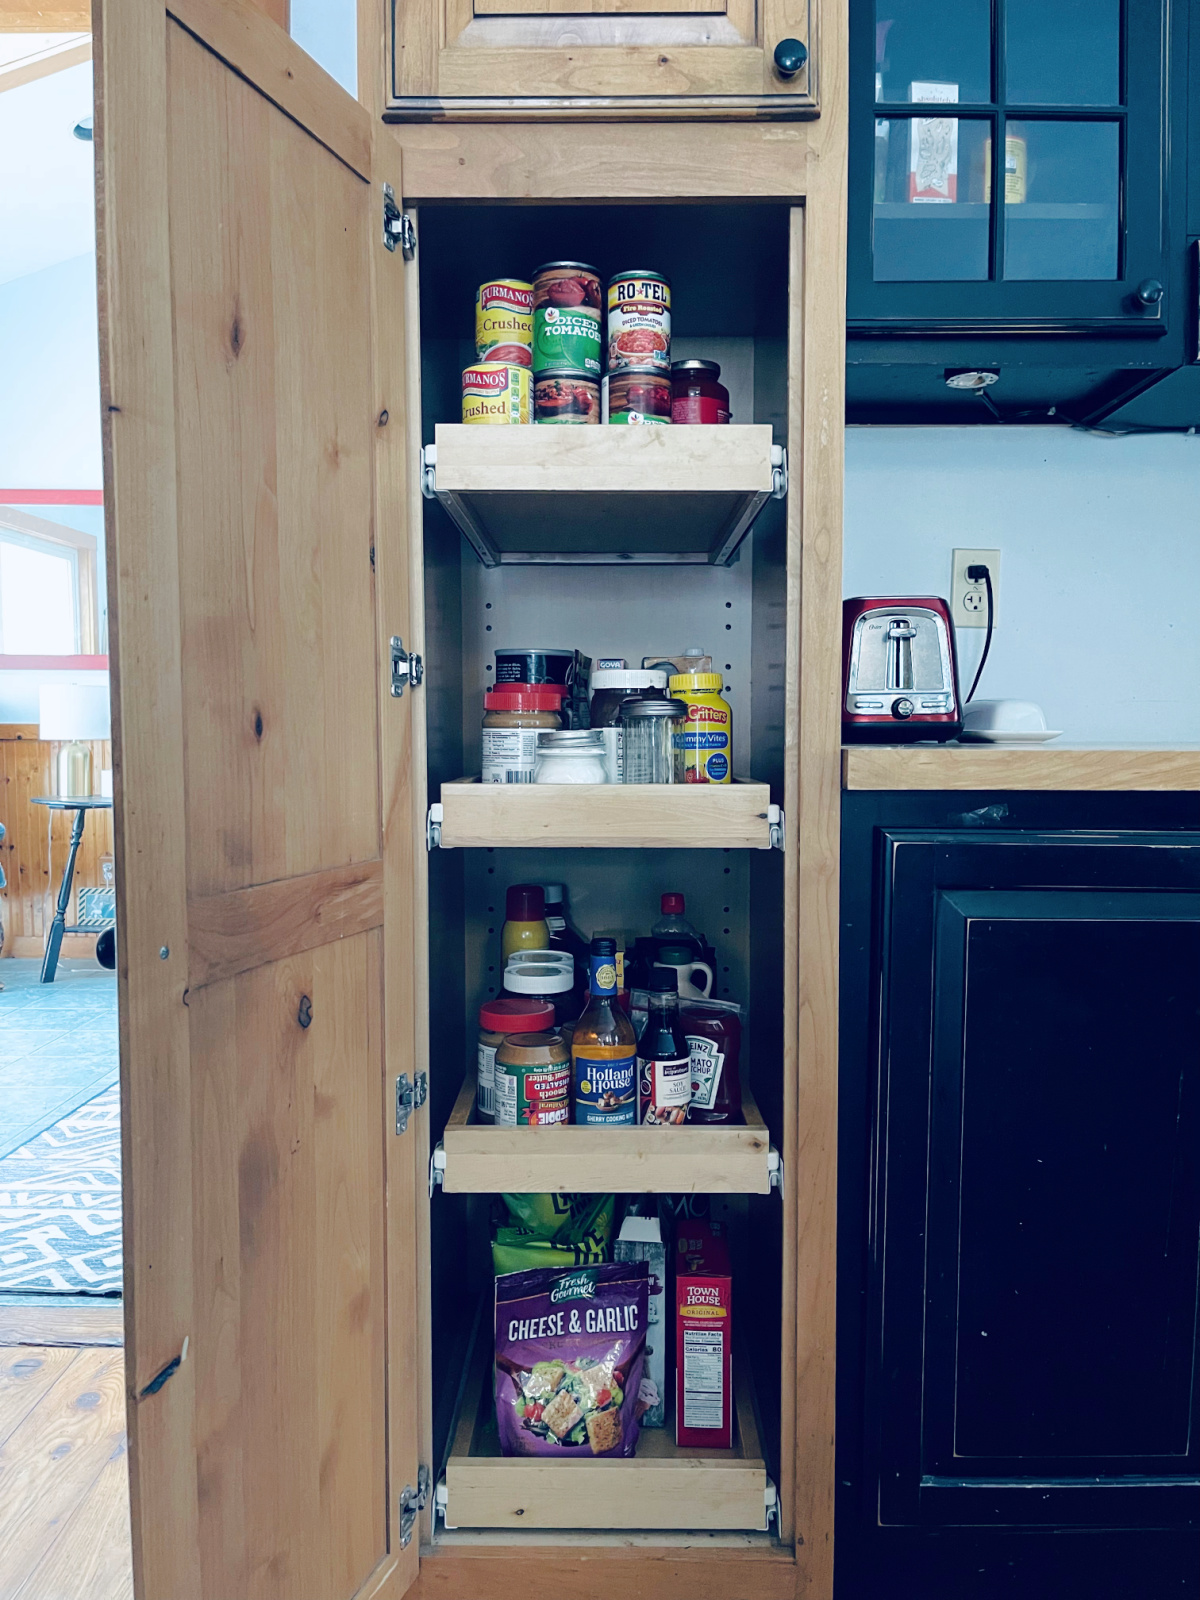
We don’t have a traditional pantry with closet doors, but we do have several cabinets that, when grouped together, serve as our pantry.
You need to evaluate your space and assign “zones” to each shelf or set of shelves. In some cases, you might need to divide a zone over multiple cabinets, but try to keep them together if possible.
For example, we have the following zones…
- Dinner Ingredients
- Condiments/Spreads
- Snacks
- Pasta
- Breads
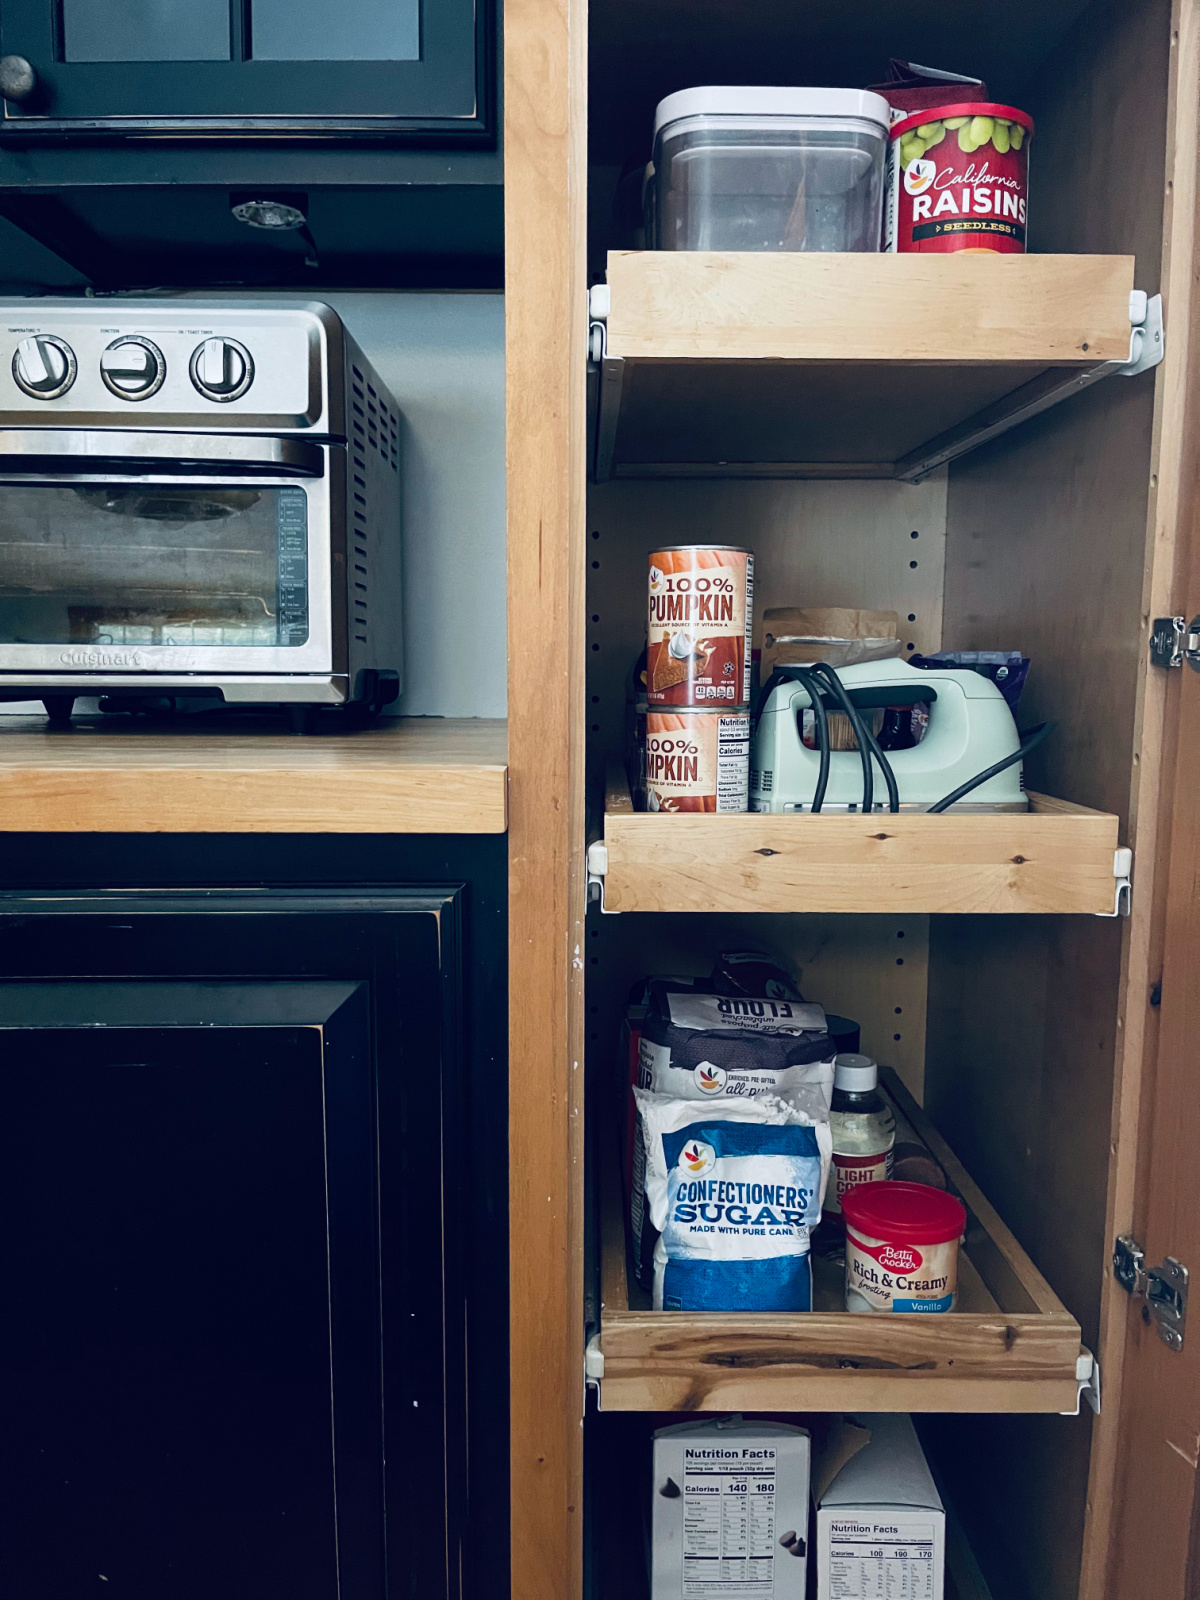
- Baking Supplies
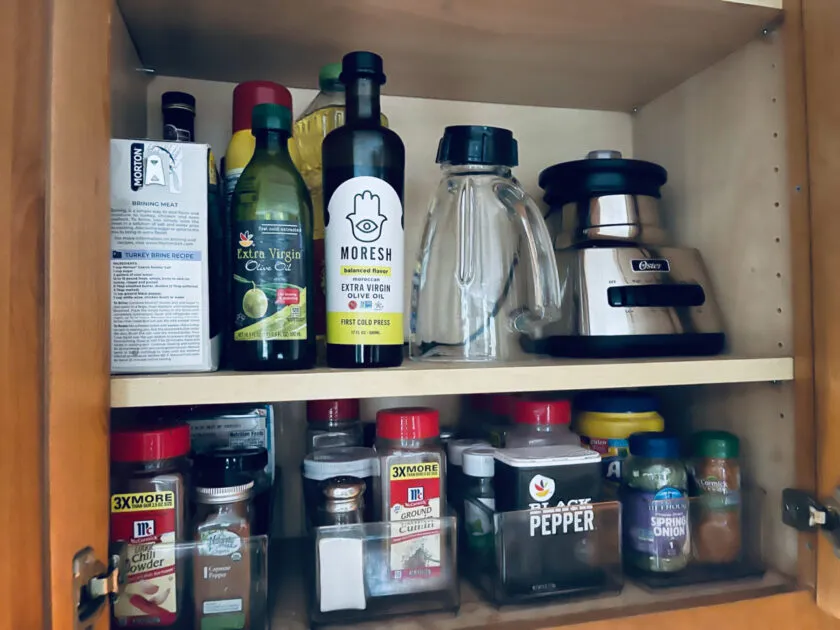
- Spices/Cooking Oils
- Vitamins & Supplements
My Favorite Pantry Zone – And How I Use It
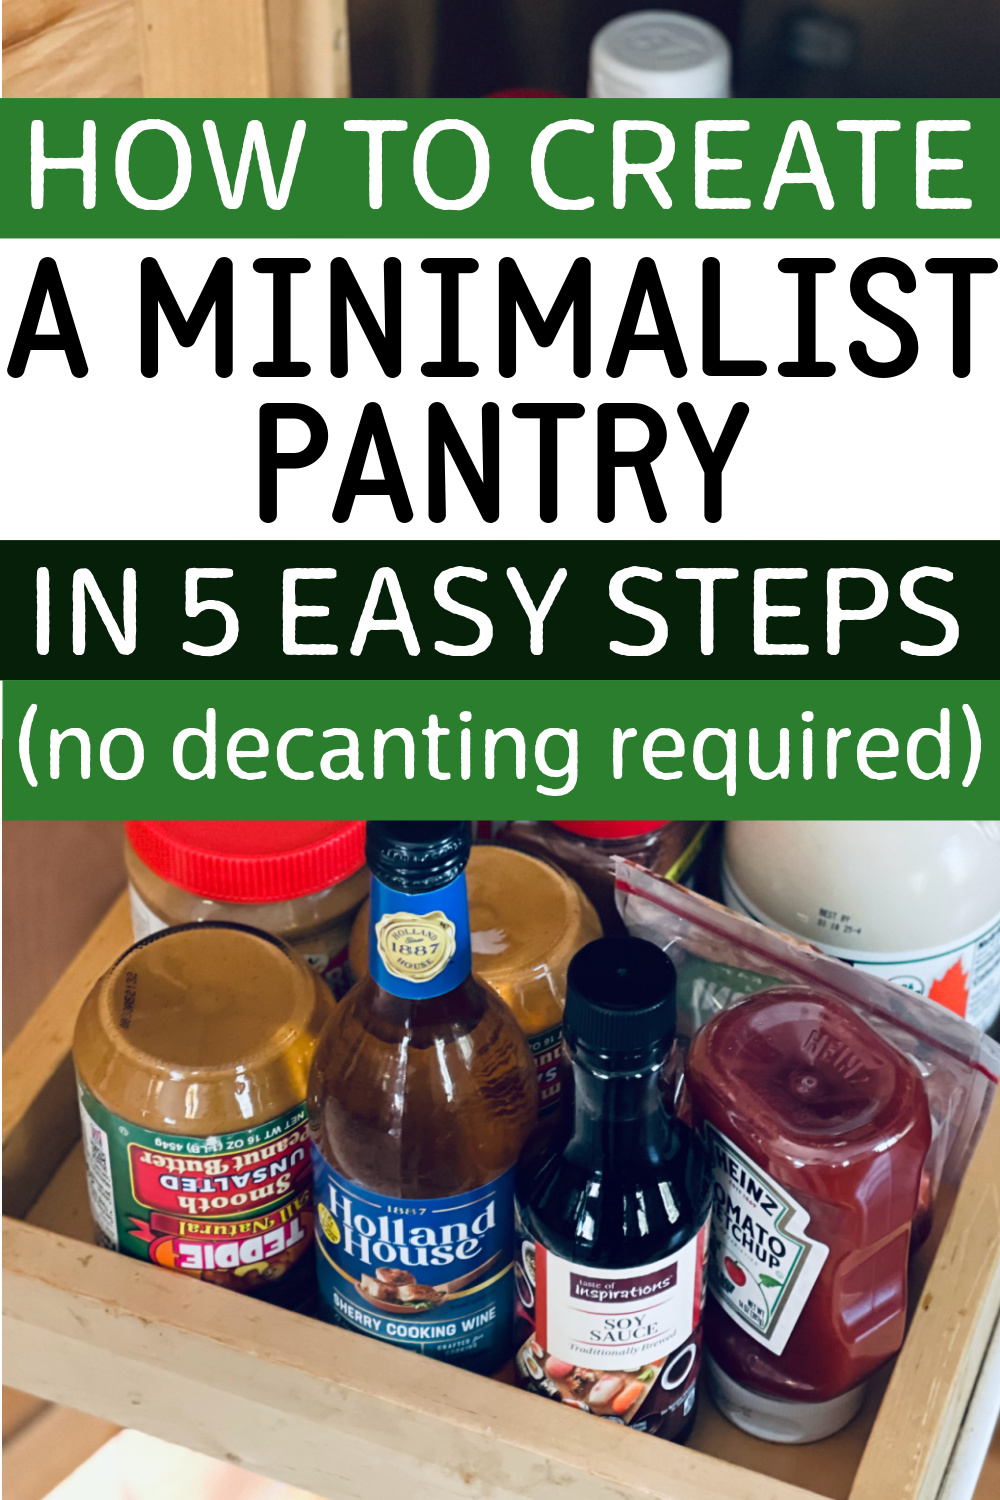
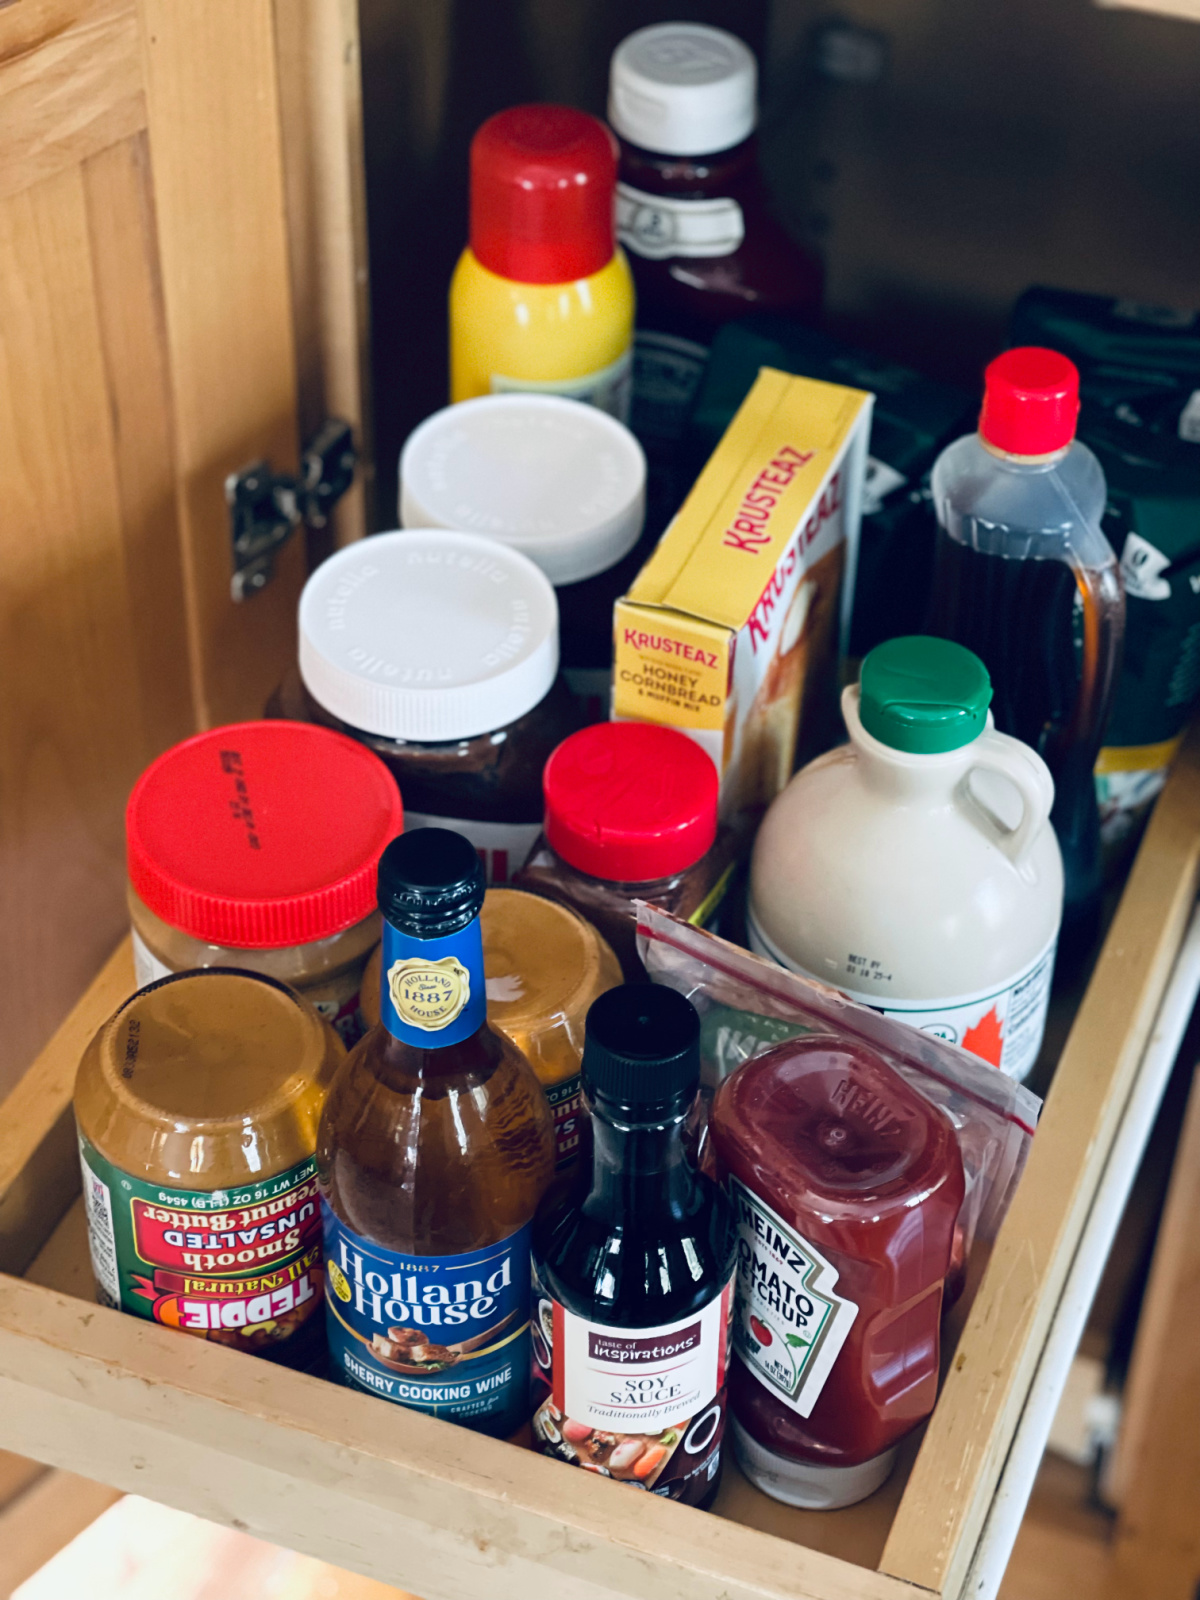
My favorite new “zone” is my dedicated shelf for condiments and spreads.
This is the category I would most often run out of and not realize it until it was too late (i.e. you go to make fries and realize you’re out of ketchup…after the fries are done).
Now, I always buy a new item as soon as I pull the back-up one off this shelf. That way the replacement item is always there, ready to go. No more mid-week mini-crises or grocery store runs!
I organize the zones based on where in the kitchen we use the items and WHO (adults or children) needs access to them.
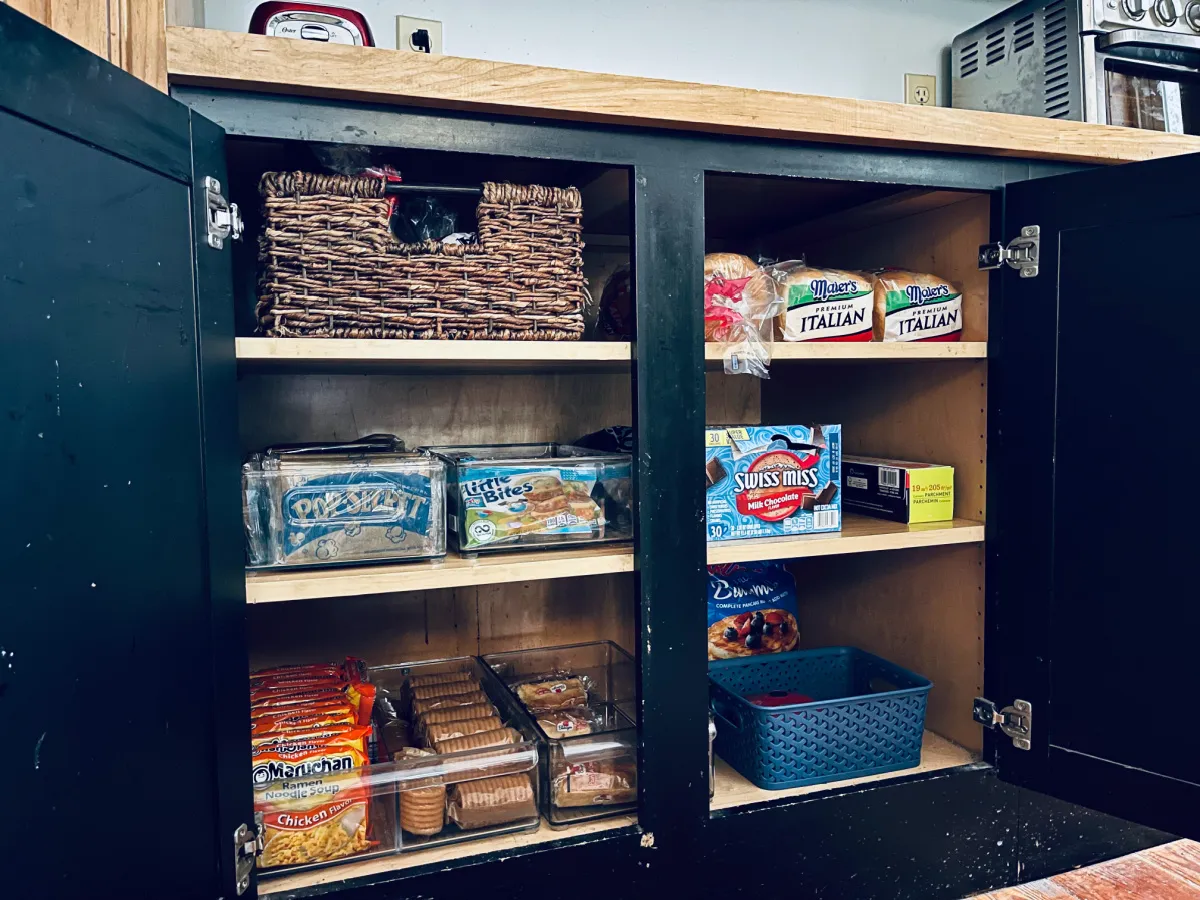
Breads are stored in the pantry cabinets immediately below the toaster, for example.
Baking supplies – flour, sugar, chocolate chips, etc. – are stored farthest away from the main kitchen area because I don’t bake very often.
Spices and cooking oils are stored immediately to the right of the stove for easy access.
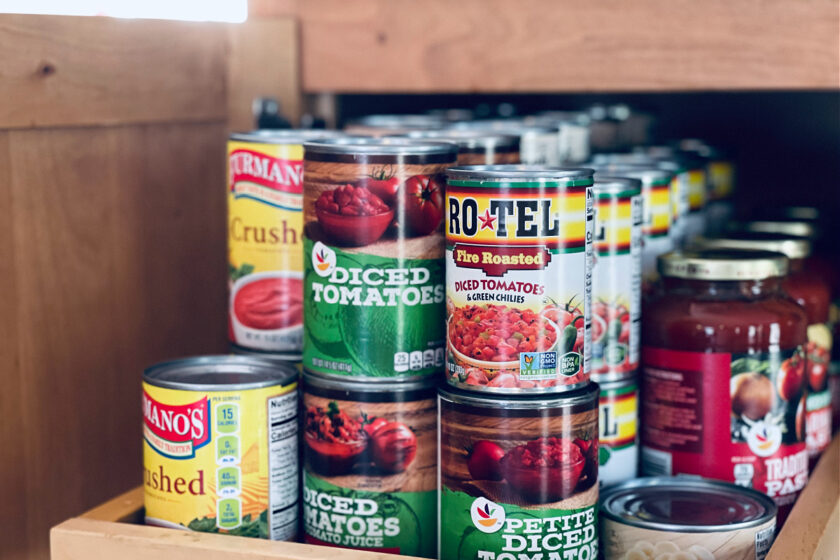
And dinner ingredients like canned diced tomatoes and sauce are stored in the middle of the kitchen, fairly close to the refrigerator and stove.
Kids snacks are stored in the lower cabinets so they can reach them, while adult snacks are kept on a singular shelf in a higher cabinet.
Generally speaking, keep items you need to cook meals CLOSER to the stove and counters you use to prep. Less frequently used items can be kept farther away.
A Word on Basement Pantry Storage: Proceed With Caution
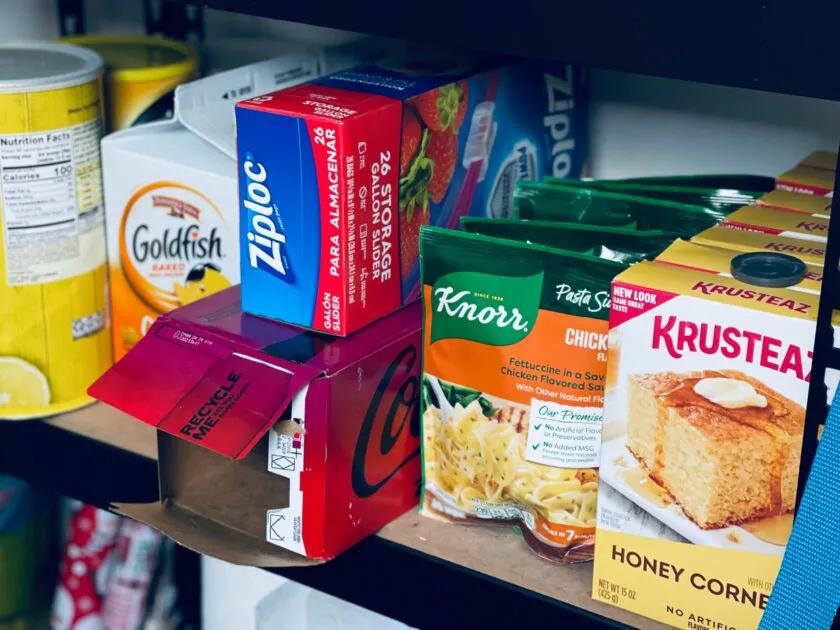
We do have shelves in our laundry room, but I try my best to keep very little in this space.
Why? Out of sight, out of mind. I forget what I have super easily.
Basement pantry store could work for you, especially if you 1) have limited pantry space in your kitchen or 2) you meal plans require a lot of different ingredients and/or 3) you like to buy in bulk for convenience or to save money.
Just keep in mind that anytime you store things outside your kitchen area, you need to have a good system for remembering what you have, lest you continually buy more than you need.
4. Put things back in their zones, keeping like items together.
Arrange items on their assigned shelves as they fit best, keeping like items together.
Canned goods and thin pasta boxes can be stacked.
Things like soda or hot chocolate can be kept in their original boxes – no need to pull them out or buy a special “soda rack” to contain them.
Speaking of special racks and storage containers…
5. Only buy organizational containers or baskets if they will make your life easier.
I’ll say it again: you might not need to decant a single thing. And you don’t necessarily need baskets or racks.
Of course, if you have the funds and it makes you happy, carry on. But you can probably save your money.
Here are a few cases where buying containers made sense for me….
We bought THESE small clear bins for spices in order to make it easier to pull them out and find what we need.
We have THIS basket for bread in the cabinet underneath the toaster because it functions as a drawer, and nothing gets shoved to the back to rot and mold (this has happened – YUCK).
The extra assorted plastic containers were purchased for a reallllly old refrigerator in a former home and have been repurposed here.
I have two large tupperwares (similar) – one for flour and one for sugar – that stack perfectly, and I’ve had them since we got married over 16 years ago. I also have a couple of plastic Oxo containers for other baking supplies that I purchased when we had a mouse problem in a previous house.
But soda and canned goods racks? Hard pass. And if I didn’t have the Oxo containers already, I likely wouldn’t buy them again.
Only buy organizational containers and baskets that make your life easier AND fit your budget.
How to Prevent Pantry Clutter from Creeping Back In
You just worked SO hard to declutter and organize your pantry, I would hate for it to be derailed over the next few weeks.
Here are a few of my best tips for keeping your pantry organized and clutter-free….
1. Make a meal plan and stick to it.
I cannot emphasize enough how much creating a minimalist meal plan can make your life better.
You’ll use fewer ingredients, so your pantry will have less stuff in it. And you’ll have a solid list of go-to recipes in your dinner rotation each month.
If you love trying new recipes, you still can! But stick to one new recipe a week, and make sure to actually cook that new recipe.
New recipes are the worst culprit for accumulating odds and ends ingredients that linger for weeks and keep your pantry cluttered.
Related: How to Create a Minimalist Meal Plan (& Save Your Sanity!)
2. Order groceries for pick-up, only buying produce in store.
Ordering groceries online for pick-up is my #1 secret for keeping our grocery budget low AND our pantry uncluttered.
Shopping in store and walking the aisles is when you’ll be super tempted to add random items to your cart, which will then clutter your pantry or refrigerator or freezer when you get home.
I only go into the store for produce and the odd item I forgot or my husband asked me to grab.
3. Order multiples of an item ONLY if you are certain you’ll use it.
I only order multiples of things we use all the time AND the sale is good.
If it’s only 10-20 cents off a can, I won’t stock up.
But if there’s a 50% off sale on Rotel paired with $0.20 a gallon off gas, you better believe I’m getting 10 cans of Rotel that week.
Related: 9 Secrets to Saving Money on Groceries Without Using Coupons
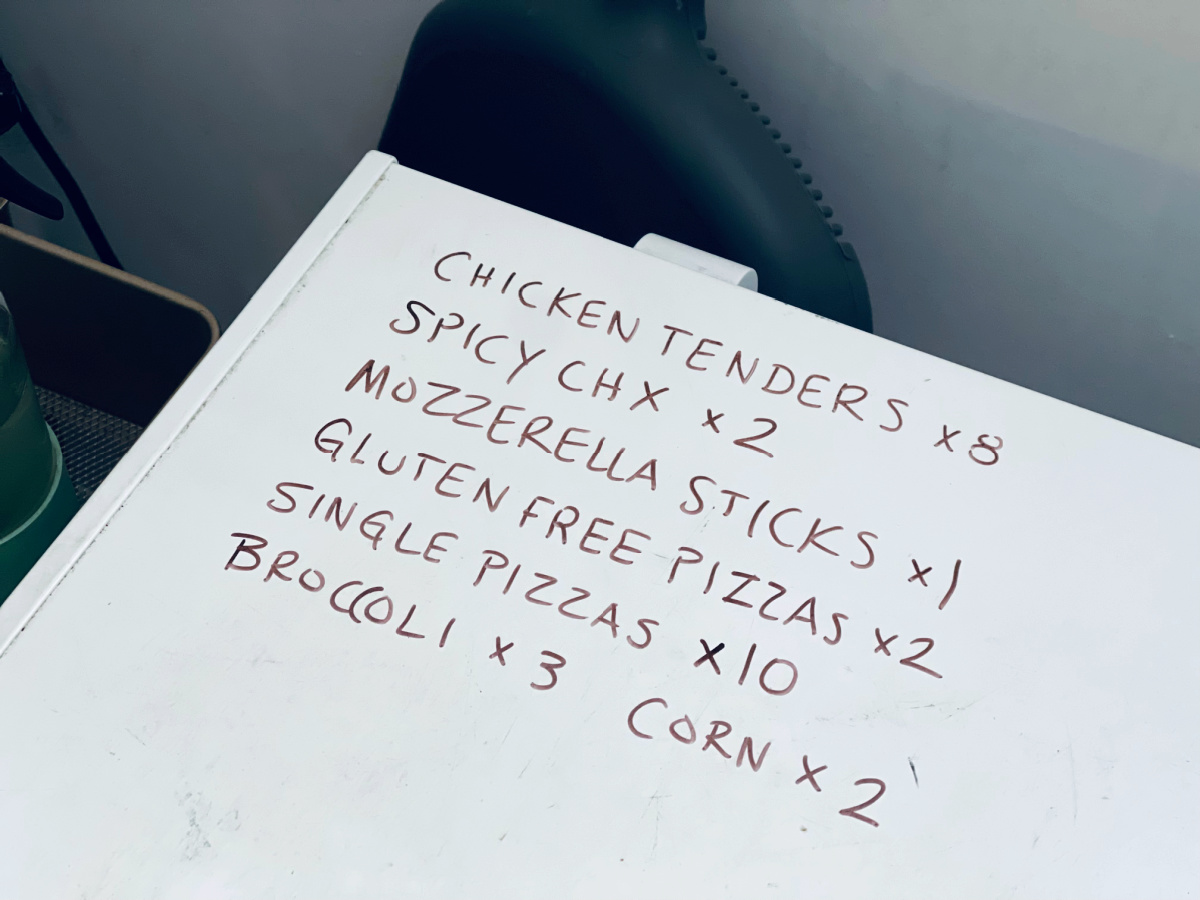
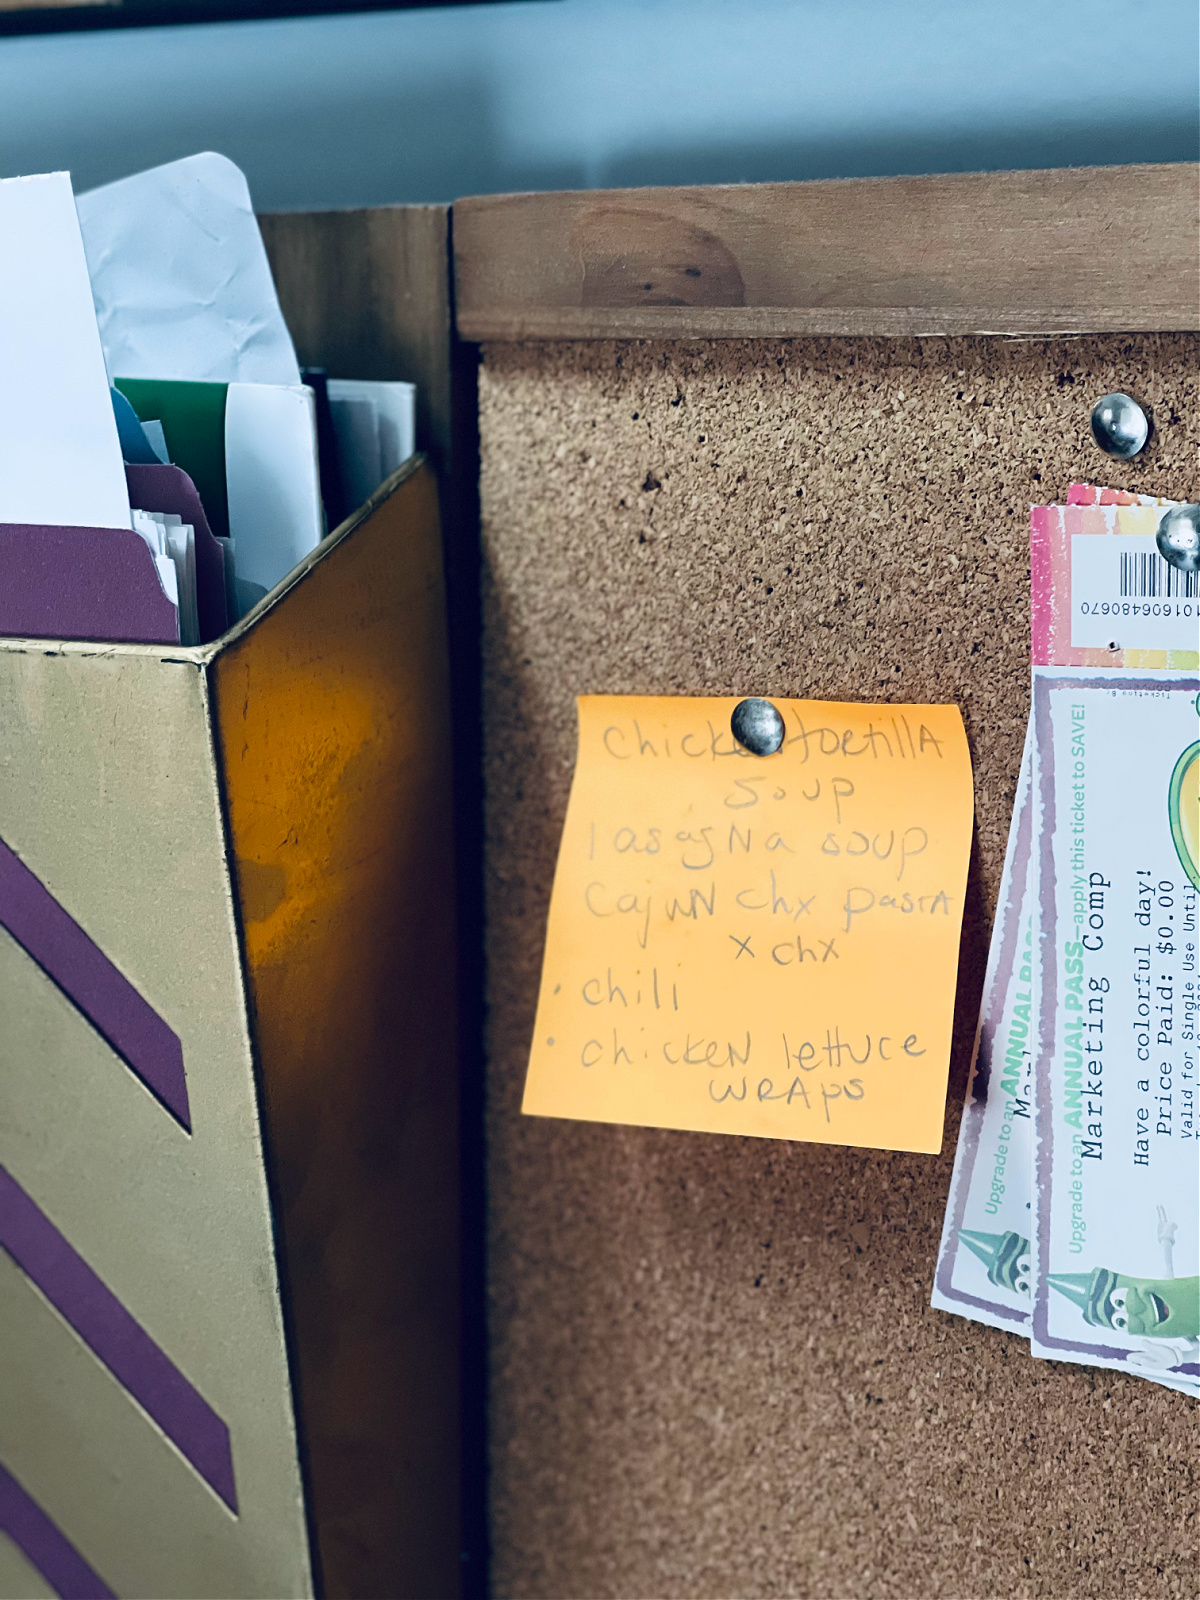
4. For hard-to-organize spaces, keep a running list of what’s in that space.
Our deep freezer is my arch-nemesis when it comes to remembering what’s in it.
My husband wants to buy THIS viral Costco freezer, but my frugal self can’t do it just yet because our freezer still works great.
So for now, we use reusable grocery bags to keep it loosely organized, and I use a wet erase marker to keep track of what’s in it.
If you have a similar space, like a cabinet, keep a post-it note on the door to keep track of what you have.
Sit Back and Enjoy the Minimalist Pantry Magic
Fewer trips to the store for forgotten ingredients or snack staples.
Less stress because you have everything you need for your meal plan each week.
A better grocery budget because you no longer buy five things you already had but forgot you did.
And that, my friend, is the magic of a minimalist pantry. I hope you reap the benefits for years to come.
Read Next: Minimalist Kitchen Essentials – Just the Basics (According to a Minimalist)
Any questions about creating a minimalist pantry? Drop them in the comments!
