
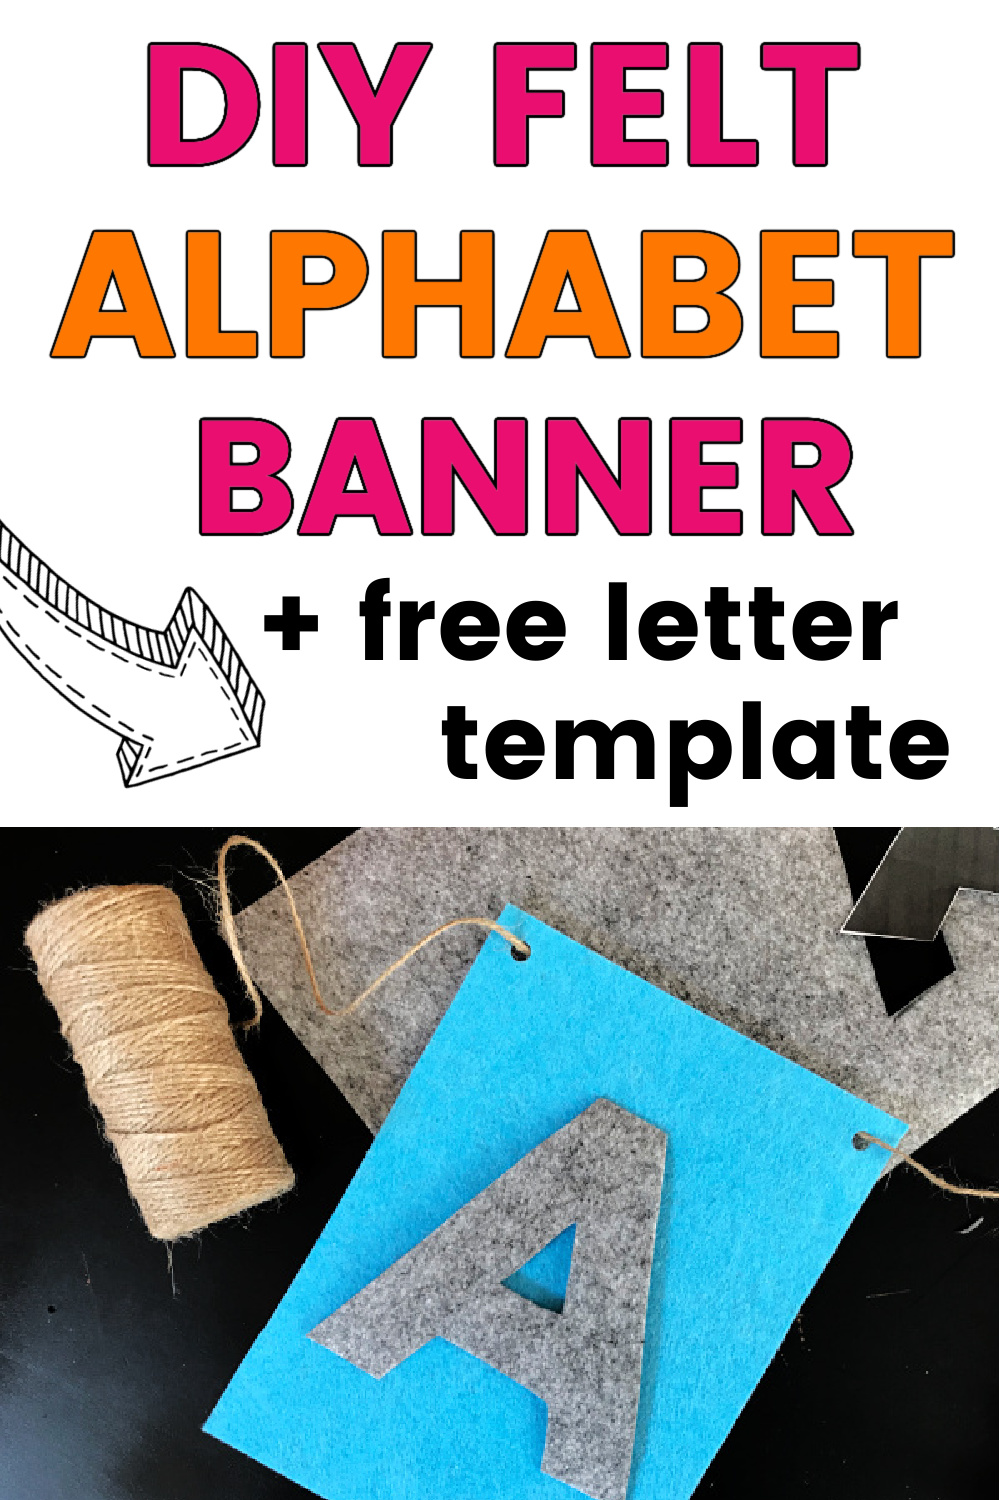
Inside: Everything you need to know to create your own DIY alphabet banner for your classroom or homeschool – a beautiful and fun way to display the alphabet and help early readers learn their letters, naturally.
My fourth babe is halfway to six-years-old, and I was recently pondering that he’s not as knowledgeable about letters as my older kids were at this age.
He can sing the ABC song with the best of them, but he definitely can’t name each letter on sight yet. He knows around half of his alphabet letters.
Now, I’m not at all worried about it. He’ll learn his letters in his own time, when he’s ready to learn.
I’ve been at this relaxed homeschooling thing long enough to know that when he’s ready and eager to learn his letters, he’ll pick them up so fast, I probably won’t even know he’s learned them until he shows me he did.
But that doesn’t mean I can’t help him out just at bit, right?
My favorite way to peak interest in learning something new is to change our environment. Put out some new books, get a new poster or buy new art supplies and set them out on our art table.
Some might call it “strewing”, which I suppose it is.
Whatever you want to call it, I decided to create a felt DIY alphabet banner to provide a fun and natural way to help him learn his letters, whenever he’s ready to do so.
Now the banner is up on the wall in our playroom, right next to our “homeschool room” (parentheses added because really, our whole house is our homeschool, and we learn anywhere and everywhere).
I am SO pleased with how it turned out that I decided to share it for anyone who wants to make one for their own homeschool, or classroom.
Related: How to Homeschool Kindergarten – 6 Essentials for a Year You LOVE
What Supplies Will I Need to Make My DIY Alphabet Banner?
THIS POST PROBABLY CONTAINS AFFILIATE LINKS. AS AN AMAZON ASSOCIATE, I EARN FROM QUALIFYING PURCHASES. YOU CAN READ OUR FULL DISCLOSURE POLICY HERE.
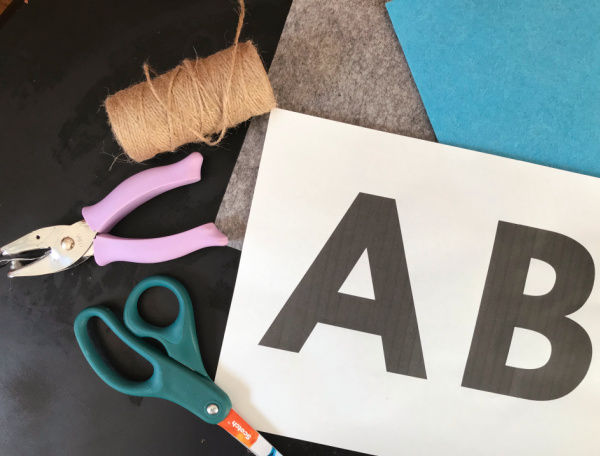
You will need the following supplies to make your own alphabet garland:
- Scissors or Craft Knife
- Pack of 8×12 Colored Felt Sheets
- Single Hole Punch
- Hot Glue Gun (we have THIS mini one)
- Pencil
- Twine
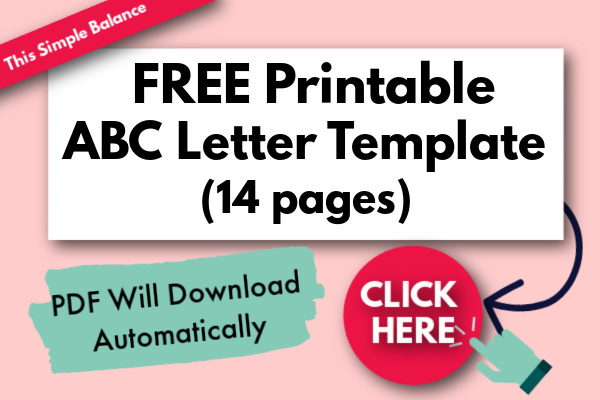
- ABCs Letter Template
You can make your own ABC letters in Word, or you can download the exact template I used by clicking the image below (PDF will download automatically).
DIY Alphabet Banner for Classroom or Homeschool: Step by Step Guide
Once you’ve gathered your supplies, here is the step by step guide to creating an alphabet banner for your classroom/homeschool.
This banner took me far too long to finish, mostly because DIY is NOT my thing.
I am far more likely to purchase a banner online as to make my own, but I persevered!
For those who are not like me and actually enjoy this kind of thing, it shouldn’t take you more than an hour or two from start to finish to create your banner.
1. Cut 13 of your 8×12 felt sheets in half to use for the main part of your banner.
These halves will form the base part of your alphabet banner. Each half will serve as a back for one letter.
2. Match your remaining whole felt sheets with your cut felt halves, choosing color pairings that you like.
I mixed and matched colors based on my own personal preference.
You just want to make sure that you don’t repeat colors too soon in the banner. For instance, you don’t want the felt backing for “A” and “B” to be the same exact color.
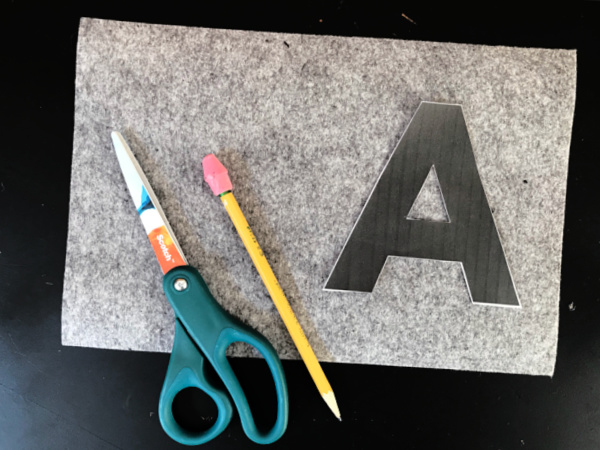
3. Print letter templates, and cut out all 26 alphabet letters.
Again, you can feel free to create your own letters in a Word document, or you can click HERE to get your free printable alphabet letter template.
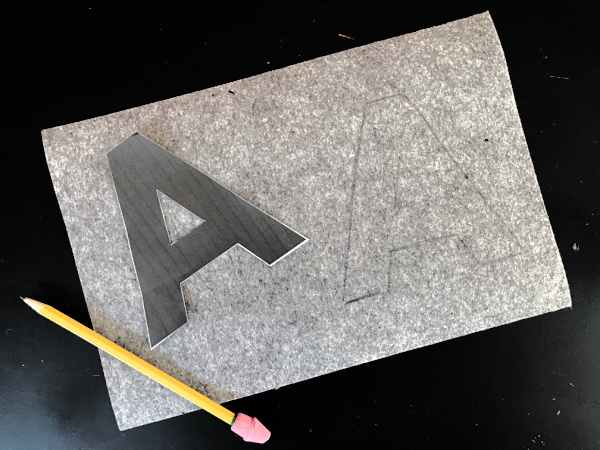
4. Trace around each letter onto one side of a full felt piece. Carefully cut out traced letters.
Use a pencil to trace your letters.
Each full felt piece should fit at least two alphabet letters, if not more.
I suggested getting a felt pack with 30 or more pieces (the one I got had 48) to leave a lot of room for error (of which I made more than my share).
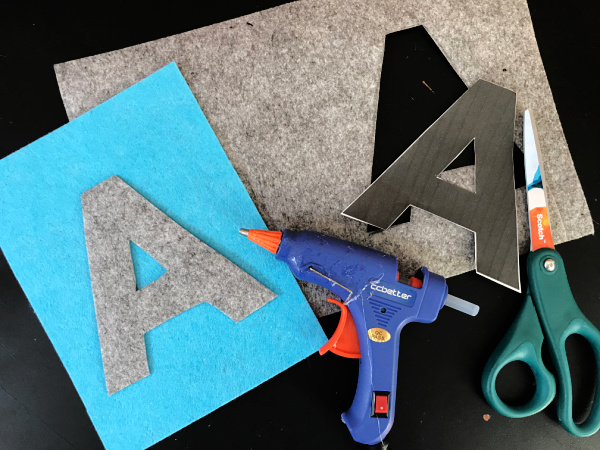
5. Use a hot glue gun to carefully attach each letter to its corresponding felt half.
Each letter should be almost centered on the rectangle, leaving a little extra room at the top to make room for the hole punches (see step #6).
You could possibly substitute a glue stick, but hot glue is definitely going to make your DIY alphabet banner last longer.
We have THIS mini hot glue gun, which has held up pretty well. We did replace it once in a year, but only because we use it so frequently (plus, it’s cheap).
And because one of my kids is currently going through hot glue like water for various cardboard crafts of his own design, we buy hot glue sticks in THESE packs of 100.
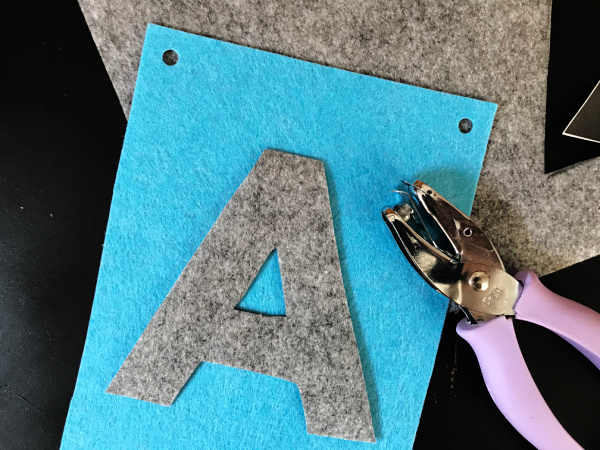
6. Punch holes in the top two corners of each felt rectangle.
I punched holes approximately 1/2″ from the top and 1/2″ from the side of each felt rectangle.
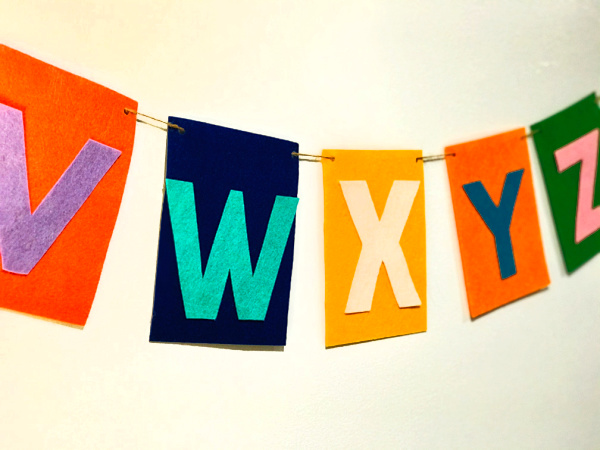
7. Cut a length of twine long enough to accommodate all 26 letters.
The amount of twine you will need will depend on how close you want your letters to be, and how you want to arrange your banner on the wall.
I recommend at least 7 yards of twine.
When in doubt, you want a TOO LONG piece of twine. You can always cut excess twine later.

8. Thread twine through each felt rectangle, one after the other.
I chose to thread the twine from front to back and then back to front, which left the majority of the twine sight unseen.
You can try threading the twine in reverse, so you can see most of the twine on the front of each rectangle. But I am not sure how that would affect the way the banner hangs on the wall.
If you decide to try it in reverse, let me know how it goes!
9. Hang on the wall using thumb tacks or nails, adding more or less as you like.
This process probably will involve more than one person – at least I needed more than one person to help me not get the entire alphabet banner tangled up in a huge mess.
You can insert as many tacks as you like, but given the length of this banner, you will probably need at least four tacks/nails to group the letters.
I suppose you could hang the banner in one huge length with only two end points to tie the twine to, but I grouped mine into three sections using four tacks as points to hold twine.
Hang it asymmetrically or symmetrically as you like.
You Might Also Like: Homeschool Supply List for Beginners – Just the Essentials
Let Your DIY Alphabet Banner Work Its Magic
I’ve already seen my five-year-old looking at the banner and singing the ABC’s, carefully working his way down the banner.
It’s only a matter of time before he’s got the hang of it.
I hope you love your alphabet banner as much as we love ours, and that it helps your children or students pick up their letters in a fast and enjoyable way.
Plus, it’s just a fun way to add a pop of color to your home or classroom.
Enjoy! And be sure to let me know if you have any questions, or if I left anything out.
Read Next: 20 Homeschooling Tips for Beginners – Everything I Wish I’d Known